We use cookies to make your experience better. To comply with the new e-Privacy directive, we need to ask for your consent to set the cookies. Learn more.
Bathoom Cabinet Routing Project
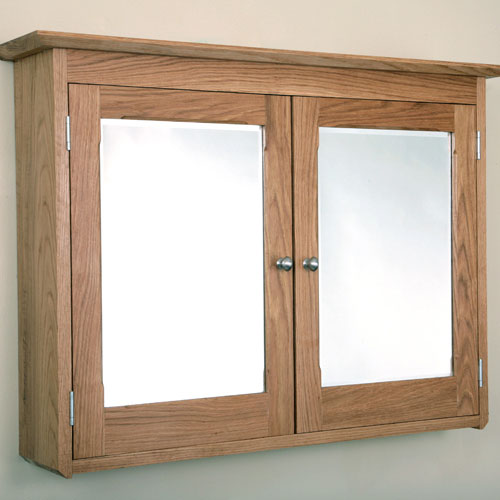
A traditionally styled cabinet with adjustable shelving which would enhance the look of any bathroom.
This wall cabinet is the first part of a suite of furniture for a new bathroom. The panels in the larger items will be made from Oak faced blockboard, but as this cabinet is relatively narrow it seemed much quicker and easier to make it from solid timber.
However, although much more enjoyable, working with real timber is not without its own catalogue of difficulties and frustrations, the first of which is choosing the right stuff in the first place.
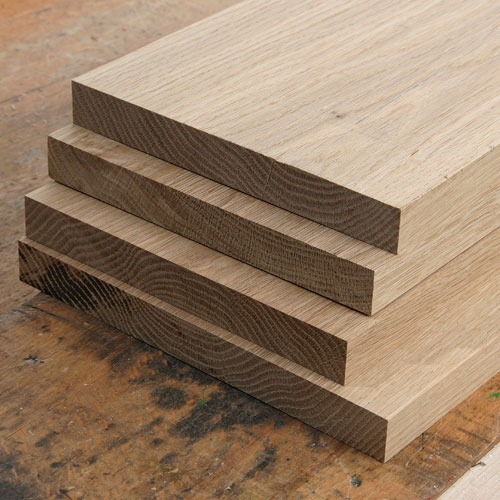
Step 1 - Select and Prepare Timber
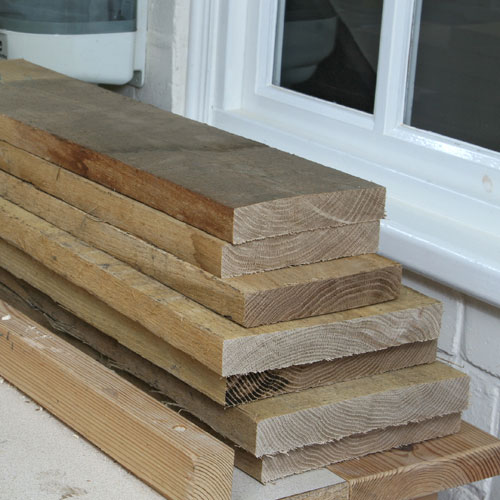
Oak in various forms is readily available at most timber merchants, my preference for both working qualities and cost being the European variety. Although it may seem dearer, buying square edged material is actually far less wasteful than waney edged stock and allows you to calculate more accurately just how much you need. Nevertheless you will still need to allow at least 30% for waste, so build in a big margin for this, particularly if you are working to a budget. There is always much more waste than you thought and unfortunately boards are seldom perfect so you will need to examine each one very carefully before you start cutting.
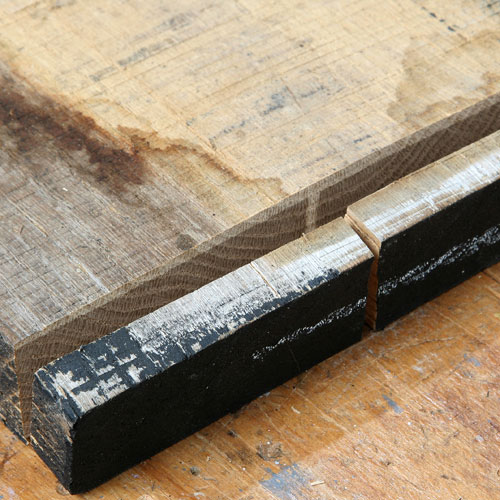
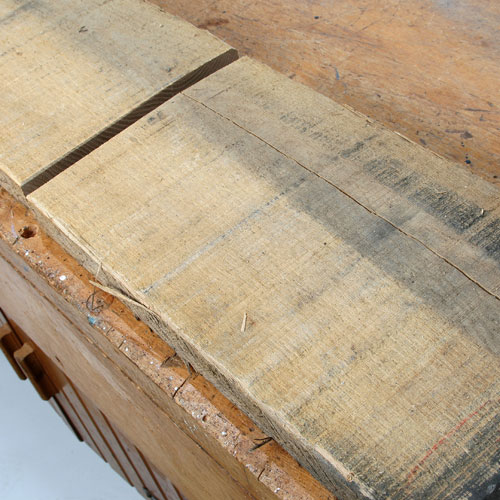
Large splits are fairly obvious, but don´t always dismiss boards with a defect like this, because they are often from the centre of the tree and contains more decorative figuring. Provided the split is reasonably straight you can often work around it.
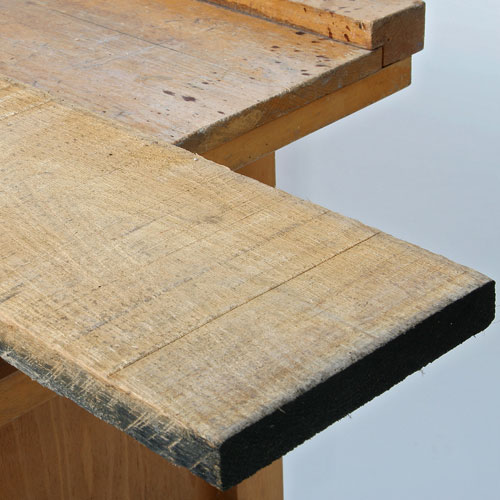
Check both sides of the board as well, because some grading specifications are based on having just one good face, and if you turn the board over it may contain a significant amount of sap and other edge defect.
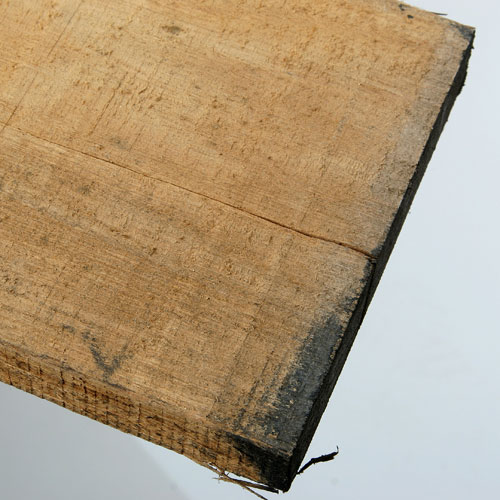
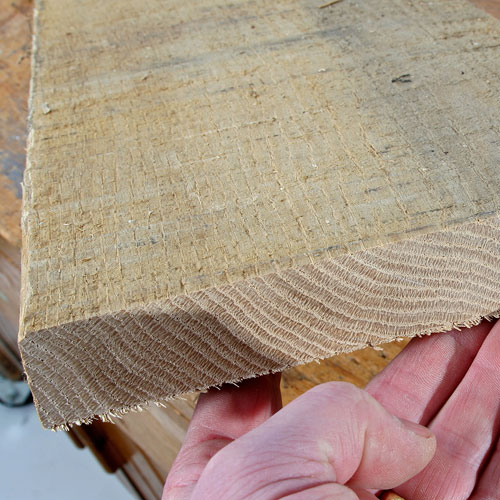
Before you start measuring out for your cutting list, always trim off the original end of the board. It may look perfectly sound but taking off a thin sliver will soon show up any hidden split.
If there are any of these splits, keep taking off further short sections until you reach sound material, which may be a lot further than you anticipated!
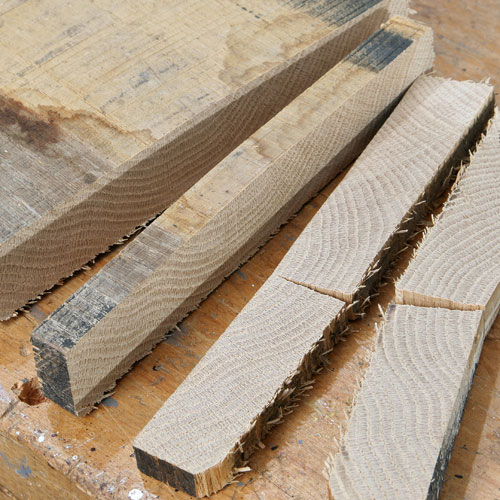
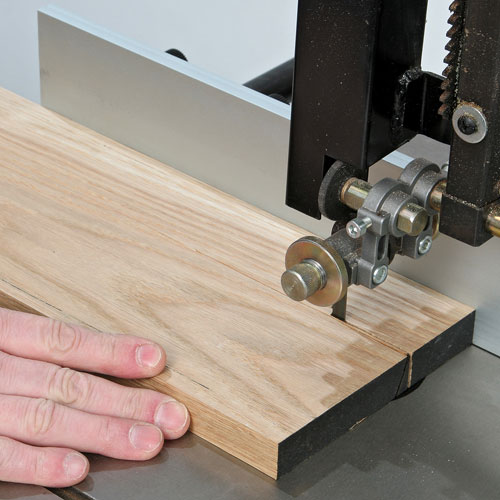
You need to be equally cautious around the obvious splits as well, as these will often reach much further than is immediately visible and the true extent is only shown up when you cross cut the board.
Even when you think the cut is clear of a split and there are no apparent signs on the surface, it is still often visible on the end grain section, This is one reason why you must make such a generous allowance for waste when you´re initially selecting material.

The golden rule is always to cut out the longest pieces first and then cut the shorter pieces from the remaining offcuts. It is surprising what you can salvage from pieces with quite serious defects.
Even if you have bought kiln dried material there is no guarantee that the moisture content is suitable for indoor use, so always try and condition the boards in a warm, dry atmosphere for several weeks before use.
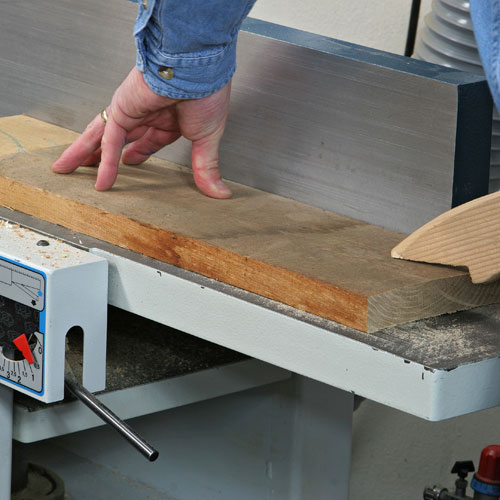
When you are happy that the boards are dry enough to use, the first stage is planing one face, but orientate the boards so that the concave side faces down on the planer table.
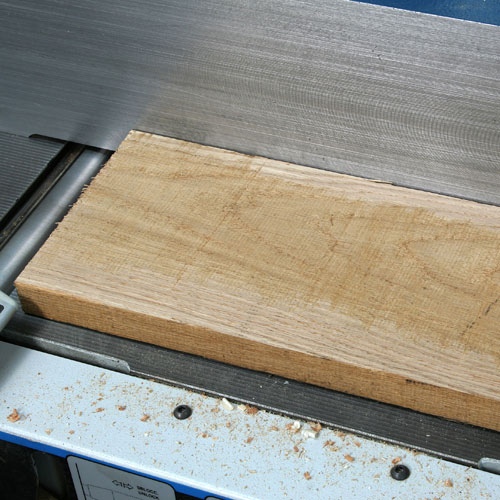
Take several light cuts until the bulk of any curve has been reduced. You do not have to get it perfectly flat at this stage, provided there is enough flat area to keep the board stable when it is fed through the thicknesser.
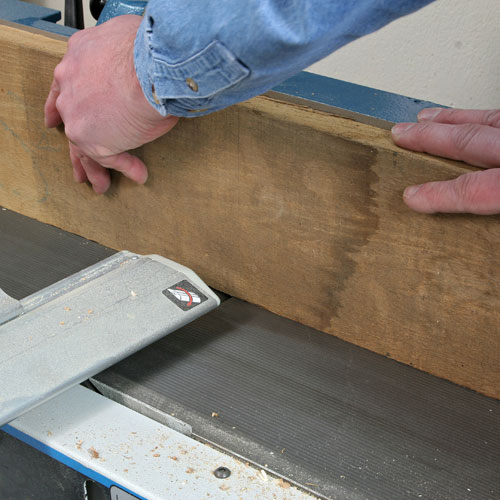
Use this flat surface as a reference against the fence to plane one edge at 90 degree to the face.
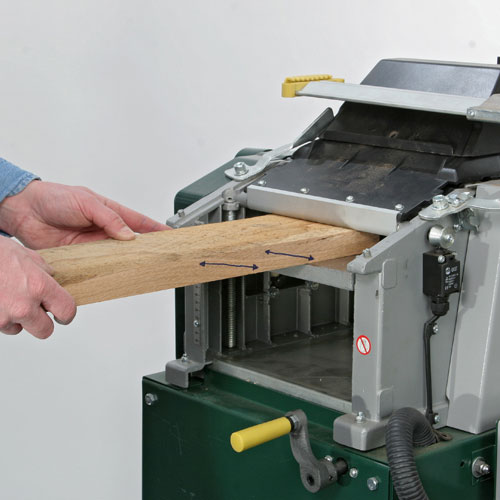
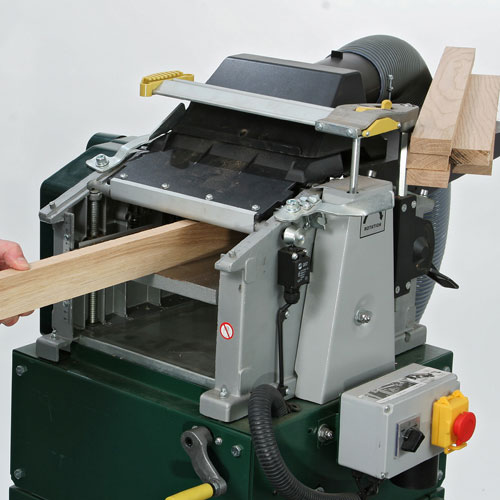
The material can then all be thicknessed to the required size, and as you always get a much better finish from the thicknesser, I take passes from both sides of the board, but do take care to orientate it correctly relative to the direction of the cutterblock rotation to minimize any surface tearing.
Step 2 - Timber Cutting for the Doors
Always start with the most critical part of the project, in this case the doors, as their dimensions are determined by the size of the mirrors.
With the boards prepared to thickness you can then start cutting out the smaller dimensions, ripping them down either on a bandsaw or circular saw.
Take care to thickness all matching components together and always machine up some spare material for use when setting router cutters, or in case you cut something wrong. It takes no time at all to machine a little extra now, but it is a major performance if you have to try and go back and reproduce the machine settings later.
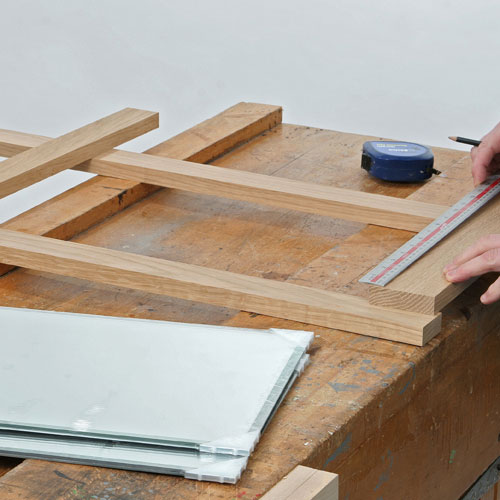
Measure carefully and calculate the required door size allowing for a 5mm groove around the inside to take the mirror. The mirror should be slightly slack in the groove to allow for any timber movement that could otherwise crack the glass.
Step 3 - Timber Shaping & Assembly of the Doors
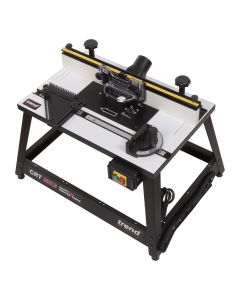
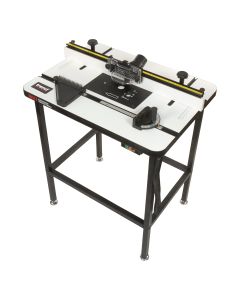
All the shaping work for his project can be carried out with the router, but this is much easier if you can mount it under a table of some sort, even a very simple homemade design.
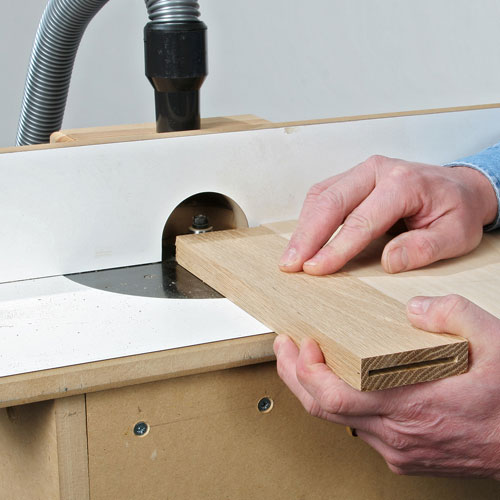
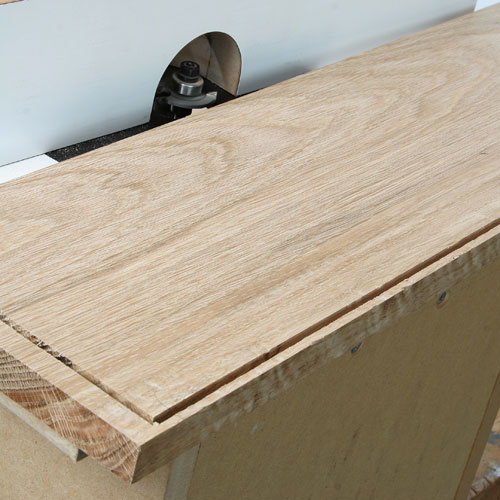
The biscuit slots in the cross rails are formed by feeding the end onto the revolving cutter, using a temporary fence clamped to the table as a stop to prevent the timber snatching backwards.
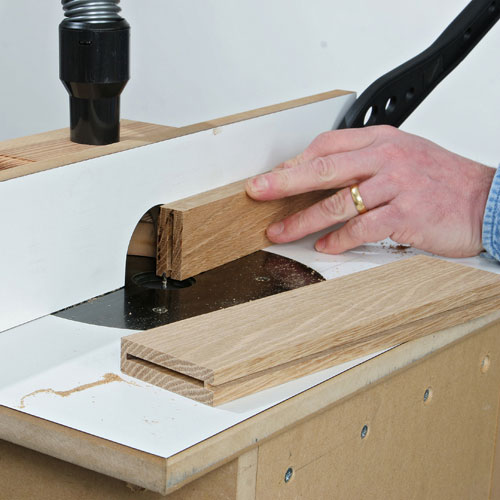
The groove for the mirror is cut using a 3mm straight cutter but remember to stop the groove short at either end of the stile or it will show on the finished door.
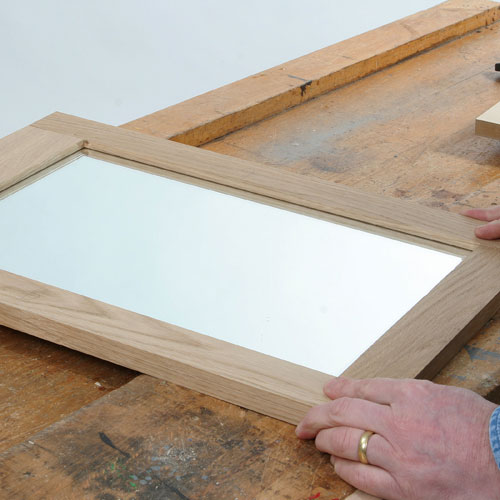
Make a trial assembly of the door around the mirror, to check that the joints all pull together tight but the glass is still slightly loose. You will have to cut down a standard biscuit for the narrow joint where the top rail meets the stiles.
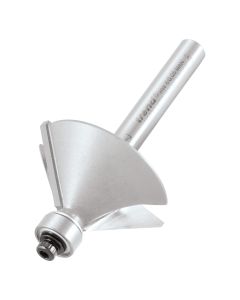
To lighten the appearance of the doors a little you can run a 45 degree, chamfer around the inside edges before assembly.
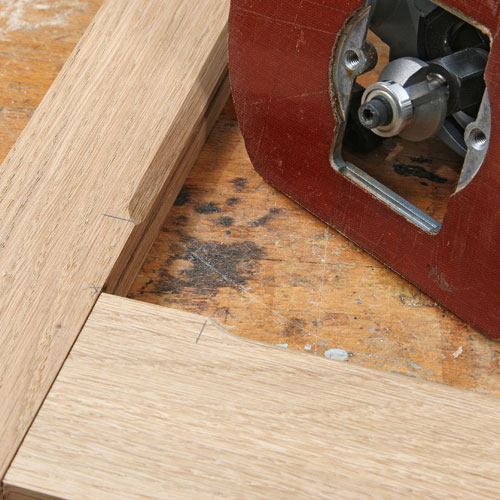
Stop the chamfer slightly short of each corner joint for a more decorative effect. Mark the stop position of the chamfer clearly on each piece before you start.

Now simply glue and clamp each door together, but do check that it remains square as you tighten up the clamps, repositioning them slightly if necessary to correct any squareness errors.
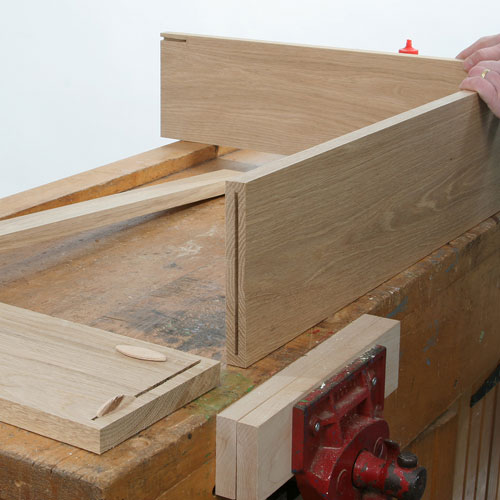
Step 4 - Timber Cutting for the Cabinet
Next we are ready to begin cutting, grooving and joining the timber for the cabinet carcass.
For the main carcass the two sides and bottom are all the same width but the top is 25mm wider. You will also need a narrow cross rail to fit under the top.
Cut all the necessary biscuit joints in exactly the same way as for the door frames.
Cut complete grooves and then slot in several biscuits, rather than putting in individual pockets for each biscuit.
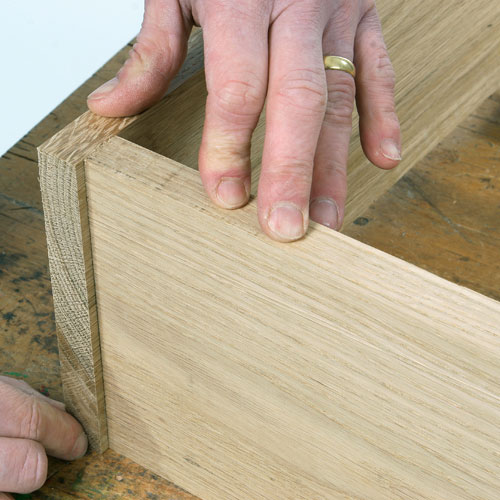
Make a feature of the butt joint at the bottom by extending the sides down slightly further. This always looks far better than just a straightforward right angle joint.
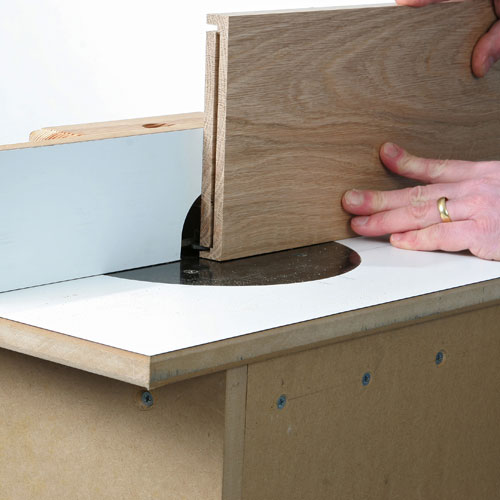
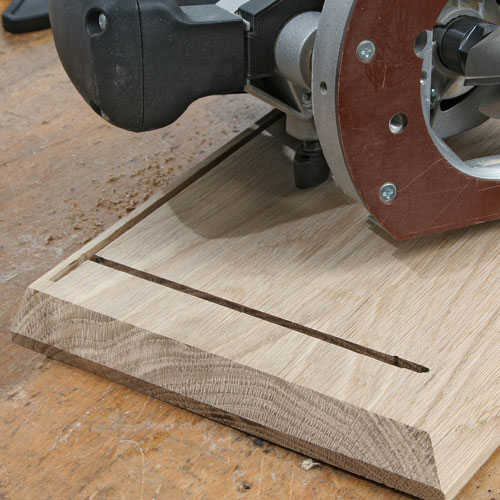
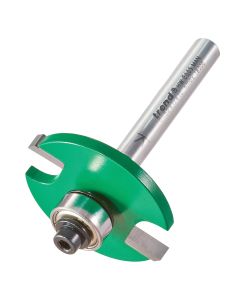
The carcass back is a sheet of 4mm white faced MDF and you can cut the groove for this using the biscuit jointing cutter and the router table.
Once again remember to stop the groove at the bottom of each side or this will show in the finished cabinet.
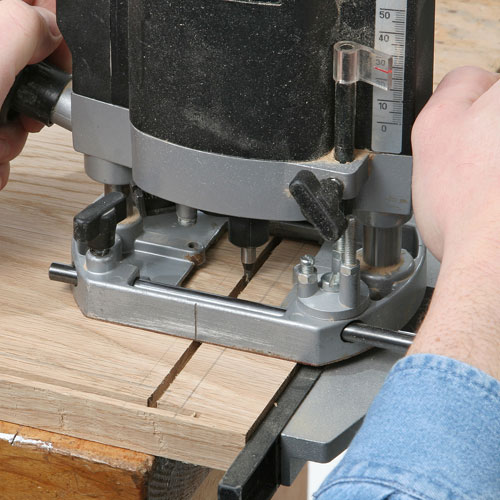
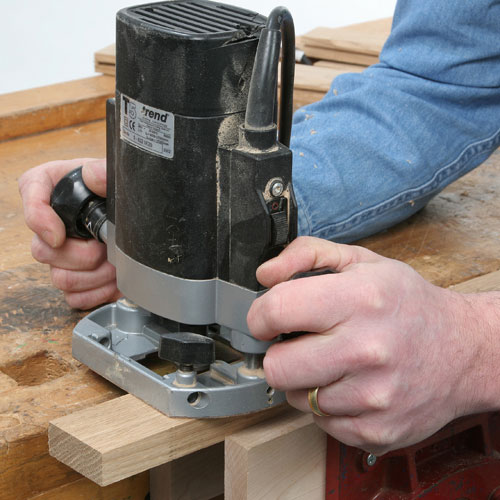
If you can't reach in far enough with the biscuit cutter to form the groove for the joint in the underside of the top, use the router handheld with the guide fence and a straight cutter.
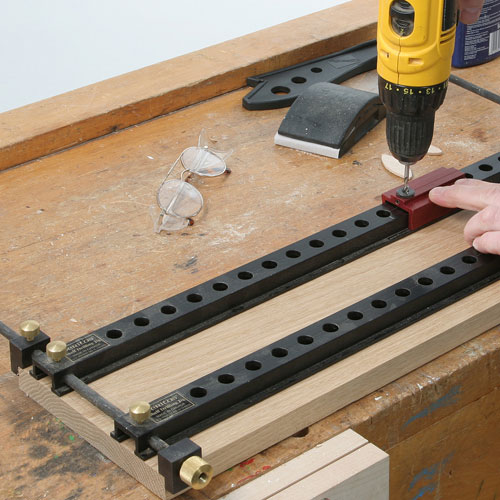
The central shelf is better left adjustable, so you need to cut a series of holes for the shelf supports at this stage. This requires some careful marking out, or ideally use a proprietary jig.
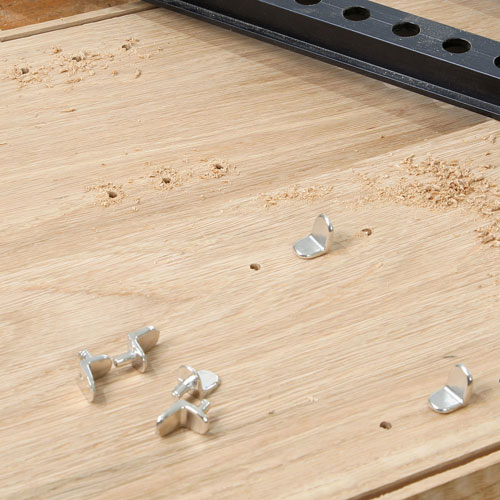
You do not need to drill lots of holes, just a few will allow for quite a variation in shelf height.
Give all the internal surfaces a thorough sanding, then the last operation before assembly is to machine a 45 degree chamfer around the underside of the top.
Make the crossgrain cuts first so that any break out is removed when you make the long grain cut, a nice touch is to also chamfer the outside bottom ends of the two sides as well.
Step 5 - Making a Backboard, Assmebly & Finishing
At this stage the cabniet is ready to be assembled, sanded and oiled.
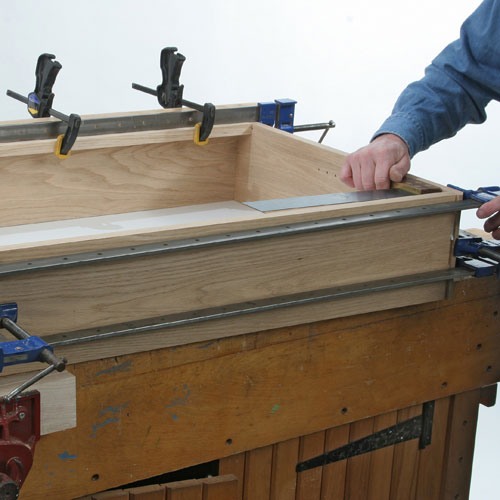
Cut the white MDF back to size and then assemble the cabinet around it. You will need plenty of clamps and keep checking for squareness as you tighten up as it is so easy to put it all out or shape with overenthusiastic clamping.
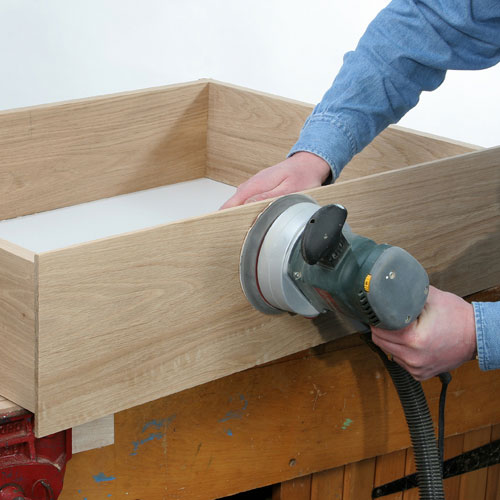
Let the glue dry really hard and then clean up any runs and sand the external faces using a sander fitted with a fine abrasive pad.
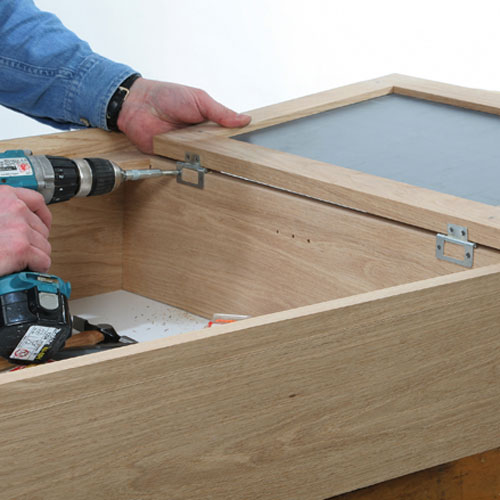
To fit the doors I always use the "lay on" type of hinges which automatically give you the required even gap, and are just so easy to use. Fit the door knobs and magnetic catches as well.
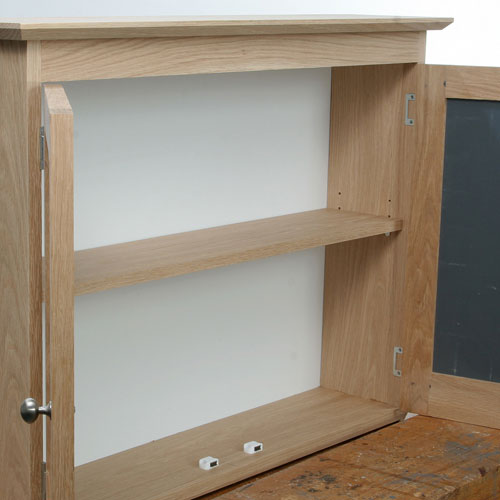
Cut the internal shelf to length and adjust the width so that it doesn't interfere with the doors closing.
The completed cabinet ready for finishing, the choice of finish is always tricky, particularly when the item is going to be housed in a hot and steamy atmosphere such as a bathroom, but in this case I settled on several coats of clear finishing oil, rubbing down with 600 grit paper between coats.
Hopefully this should be impervious to moisture, but is easily revitalised with a quick wipe over with an oily rag at any stage if it shows signs of marking.
Related Products


Related Videos
Bearing Guided Cutters
CDJ300 Dovetail Jig
Related Downloads
Related Test Reviews
Related Instructions

Document Download
Document Download
Document Download
Document Download
Document Download
Document Download
Related Files
Document Download
Document Download
Document Download
Document Download
Document Download