We use cookies to make your experience better. To comply with the new e-Privacy directive, we need to ask for your consent to set the cookies. Learn more.
Side Table Routing Project
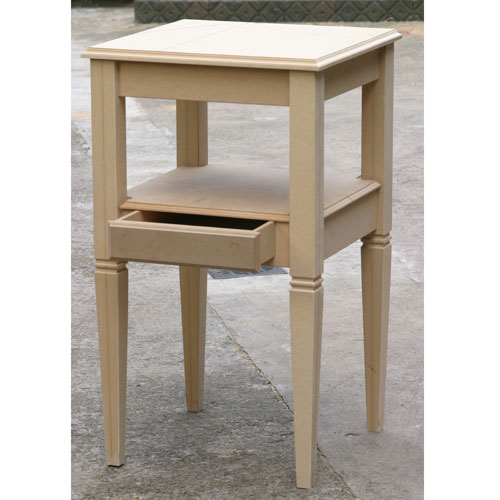
A small French style side table with single drawer.
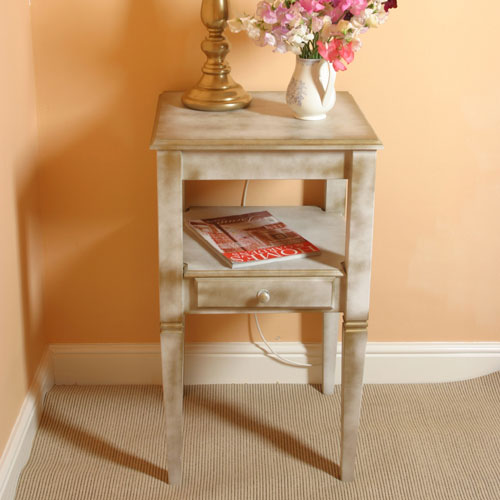
This piece was a commission from someone who wanted a little lamp table to fit in the corner of a modern but sunny flat. The only other stipulations were that it should be 'vaguely French style' and 'had to be cheap'!
Under these conditions the only answer is MDF with a suitable paint finish and I was rather pleased with the finished result. Fortunately the client was as well and it looks as if there will soon be a bedhead to match.
Because all the components are relatively small I was able to use up a lot of those offcuts of MDF that had been accumulating over the months. Do save all these carefully as they really will be useful one day and you can occasionally get a 'free' project like this out of them. However do be aware of the health problems associated with machining MDF and take suitable precautions for the inevitable dust that is generated. At the very least wear a face mask, but ideally use a vacuum extractor on the power tools as well to collect the dust at source.
Step 1 - Cutting and Initial Glueing
There is a lot of router work involved in even a simple project like this, and a suitable router table makes the job even easier, particularly if it has a sliding table. However if you don't have this luxury you can use the router handheld but clamp bits of wood to the work to act as guides.
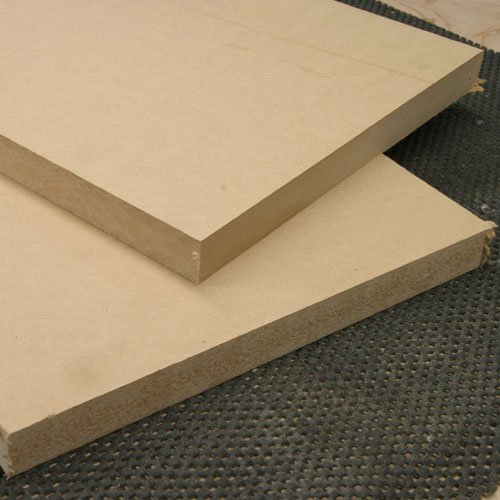
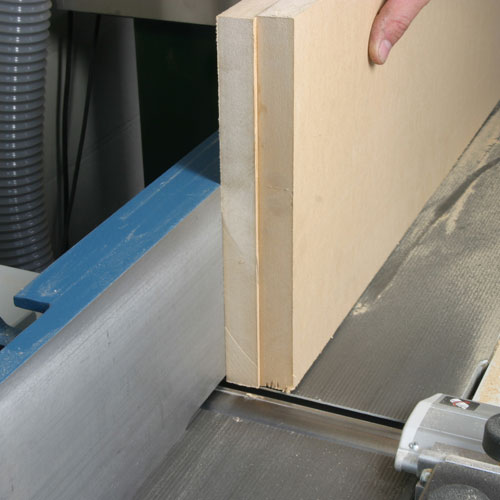
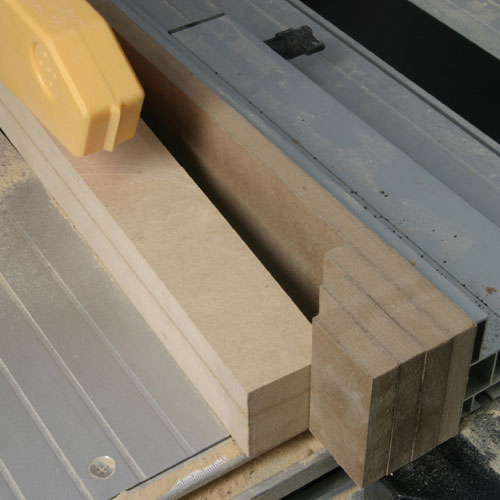
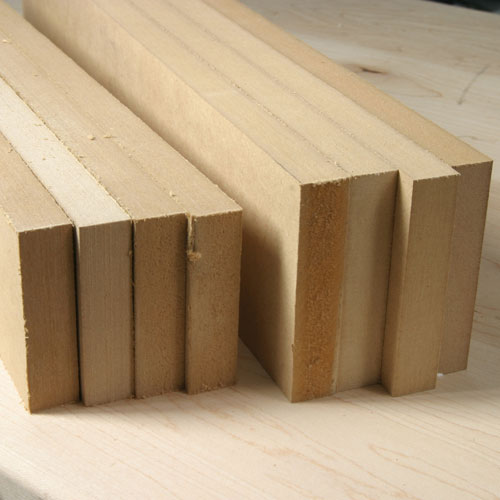
The first step is to make up the square legs using two pieces of 25mm MDF laminated together.
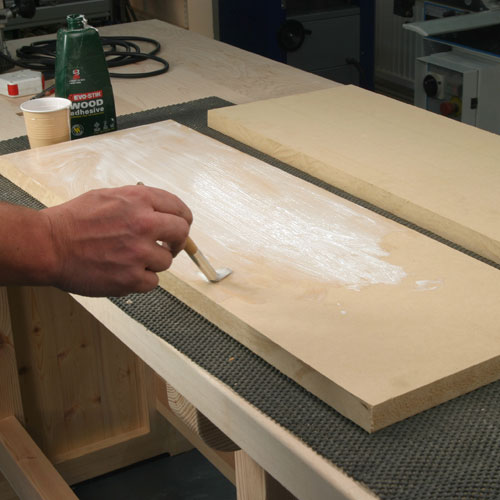
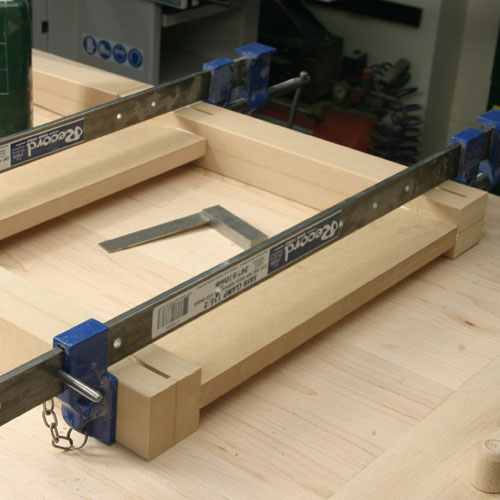
It is easier to do this by making them up as one rather than individually, so spread an even coat of PVA glue over both boards taking care to get right up to the edges, then clamp them together.
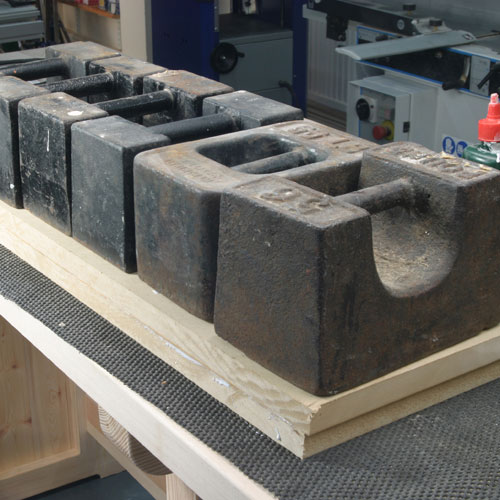
Over the years I have gathered a collection of old weights which are perfect for clamping jobs like this, they spread the weight so evenly. Keep your eyes open for them in your local scrapyards as imperial weights are no longer used and are usually just thrown away.
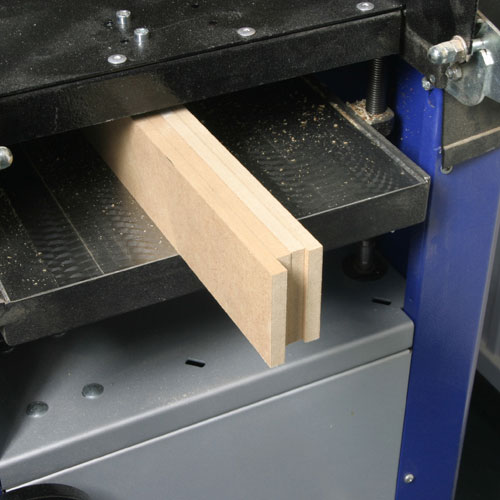
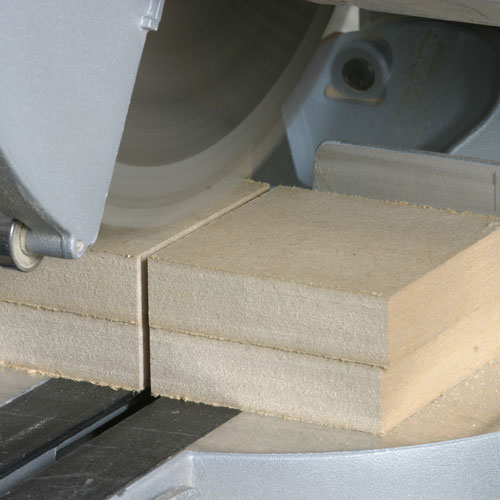
Whilst this is all curing, and you will need to leave it at least overnight, prepare the pieces for the drawer from 10mm material. For accuracy use a thicknesser to get them all to the same width, but a good tip here with thin pieces is to thickness them all together to stop them leaning over as they pass under the knives.
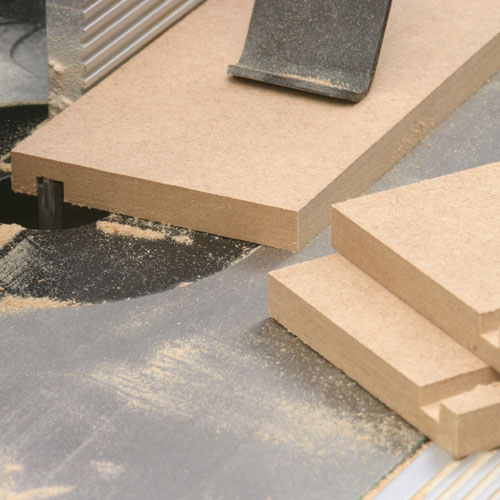
Machine the 6mm groove for the drawer bottom first and then cut the rebate for the half lap joint on either end of the two shorter pieces.
This is where the sliding carriage on the router table is so useful; you can set the fence as a stop and then cut each joint with perfect repeatability.

The half lap joint in conjunction along with the inserted drawer bottom forms a very strong construction as MDF glues together so well, there are no 'end grain' problems that you get with proper timber. Make a trial assembly of the drawer to check that it all fits together well; the bottom only has to be a fraction oversize to stop the joints closing properly.
Then glue and clamp the whole assembly using a good sized square to check for squareness, though it should be ok if you cut the bottom square in the first place.
Step 2 - Routing Application
The drawer front is added later and is simply a piece of 12 mm MDF with a suitable moulding run around the edges.
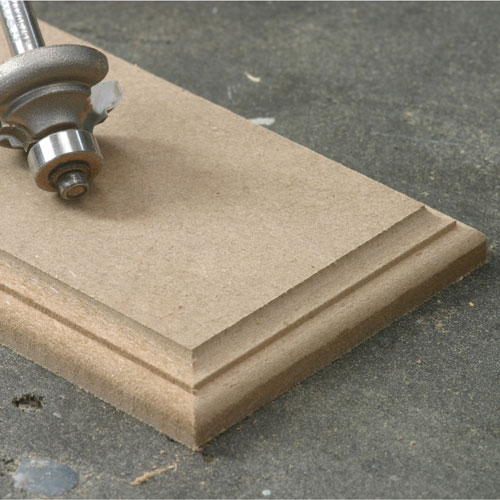
Don't overdo the moulding work on MDF as all these cut surfaces are difficult to seal properly when it comes to the finishing stage.
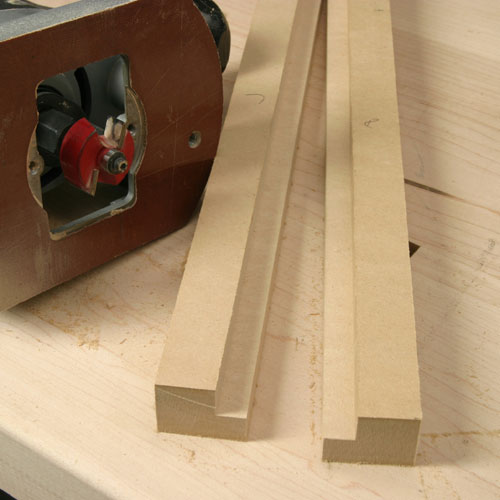
When the laminated board for the legs is properly cured plane up one edge true and then rip off the four legs on the bandsaw. I actually cut out five to give me a spare to use for setting up the various tapering and moulding operations that come next.
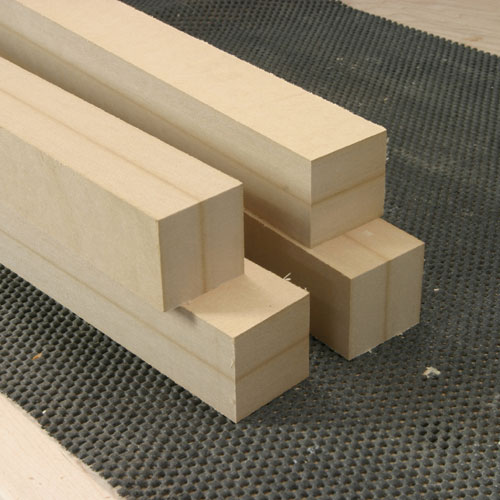
Plane and thickness all the legs to make sure they are perfectly square and cut them to the final length using the first one as a template for the others.
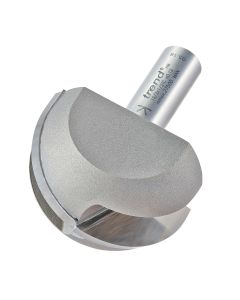
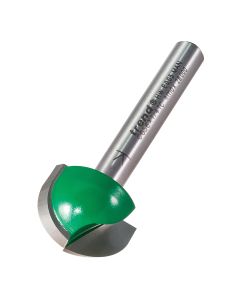
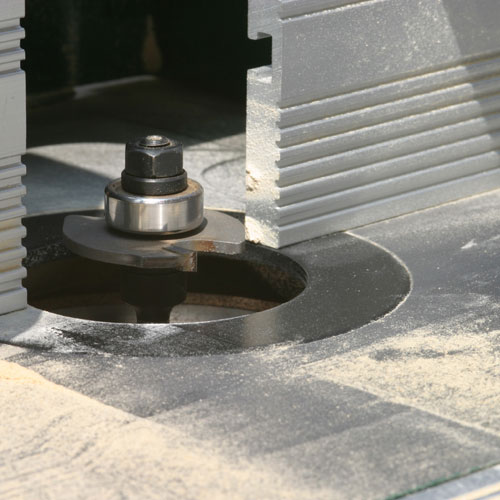
The simple band of moulding round the middle of each leg is achieved with a cove cutter in the router.
Once again the sliding table makes this a doddle, particularly if you set up a stop to help repeat the cut on four sides of four legs!
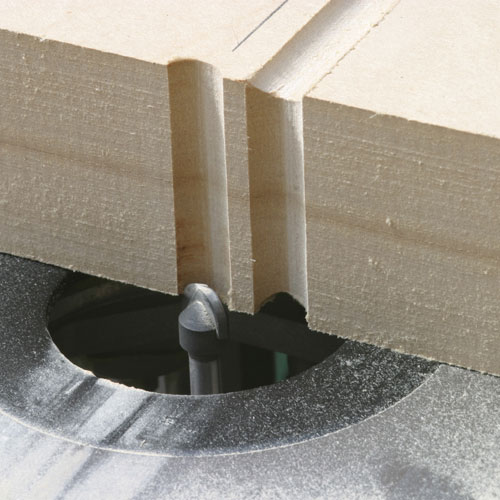
Then repeat the whole procedure with a second cut to get the desired effect.
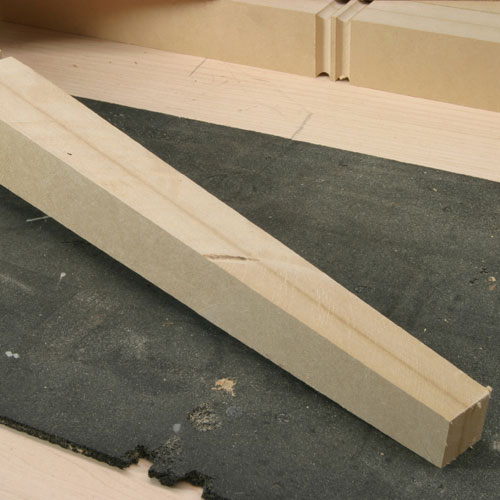
Step 3 - Tapering The Legs
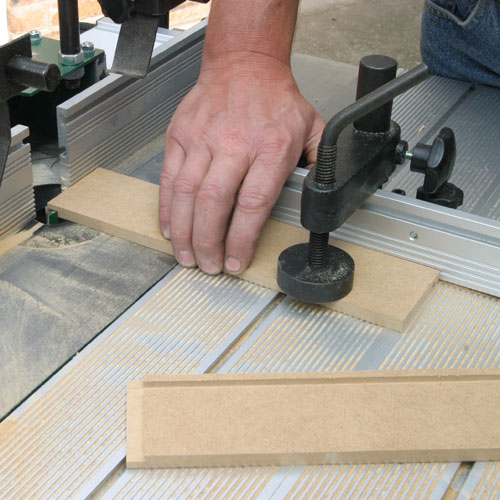
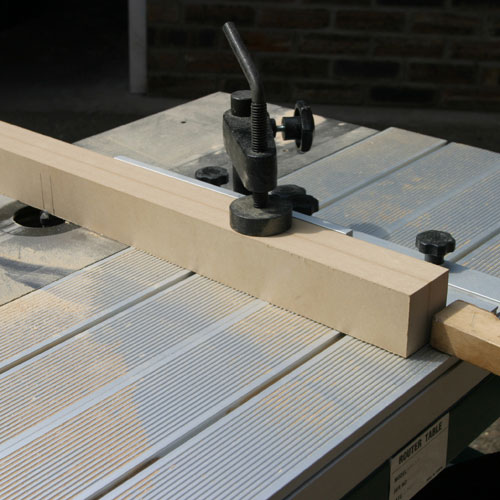
I formed the tapers on the circular saw using a very simple homemade jig.
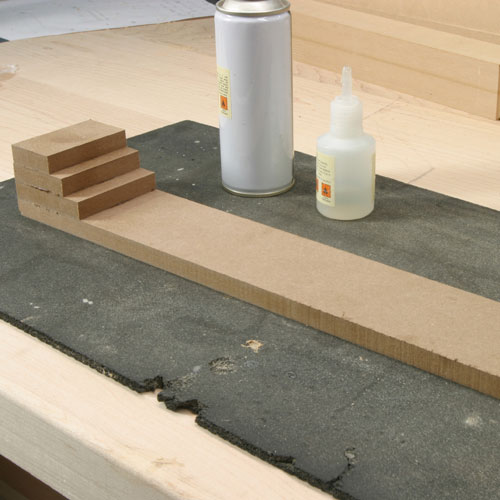
This is a strip of MDF with two steps formed on one end with a series of short blocks, the height of each step has to be half the thickness of the required taper on the leg. In this case I used 12mm MDF for the whole thing which effectively tapered the leg down to a finished size of 25 mm square.
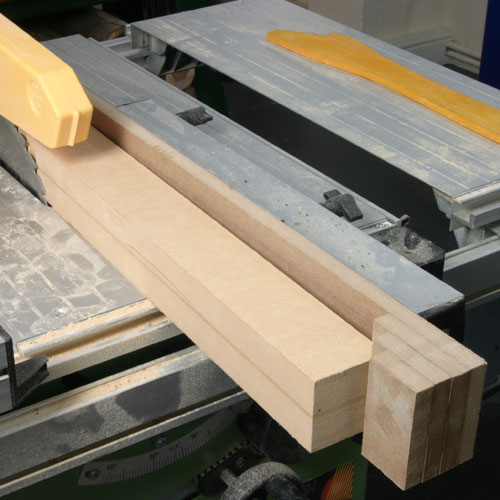
To use the jig, place the leg on the first step and run the whole thing through the saw, having determined where you want the taper to start by adjusting the position of the rip fence.
Then turn the leg 90¡ and make another cut, again on the first step.
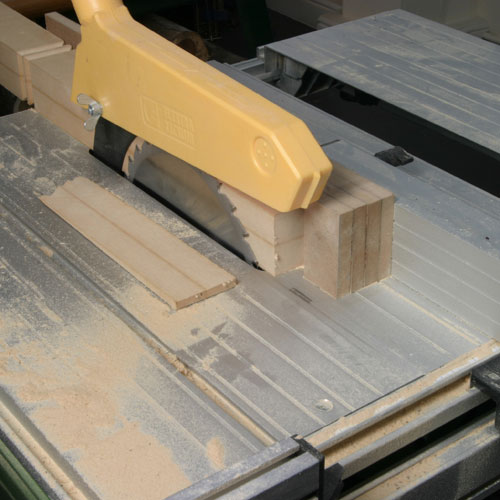
Now put the end of the leg onto the second step and cut the other two faces of the leg to produce a perfect even taper.
You might just have to plane or sand the faces to remove any tool marks.
To complete the leg use a 3mm diameter bearing guided rounding over bit to radius all the corners of the leg.
Step 4 - Cross Rail Construction
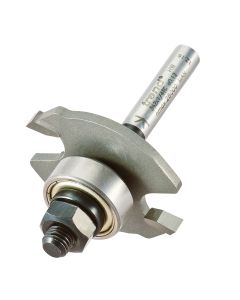
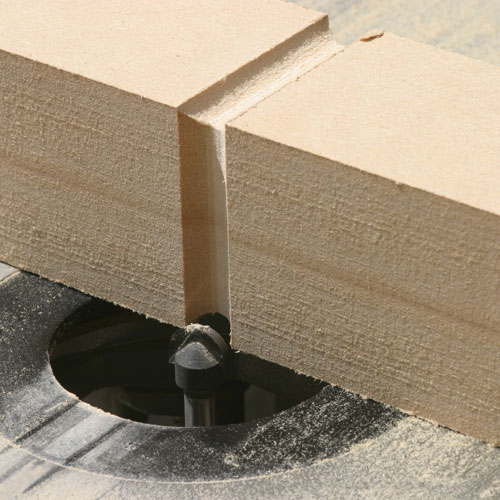
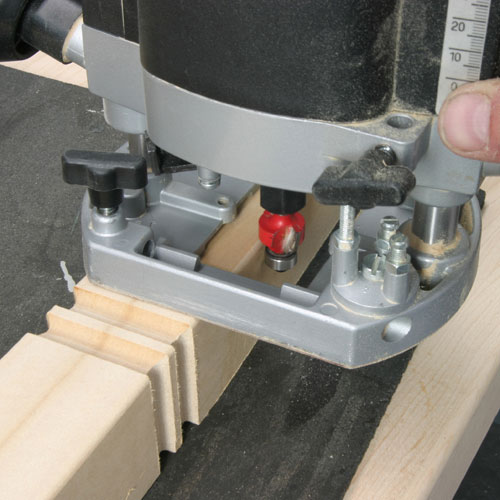
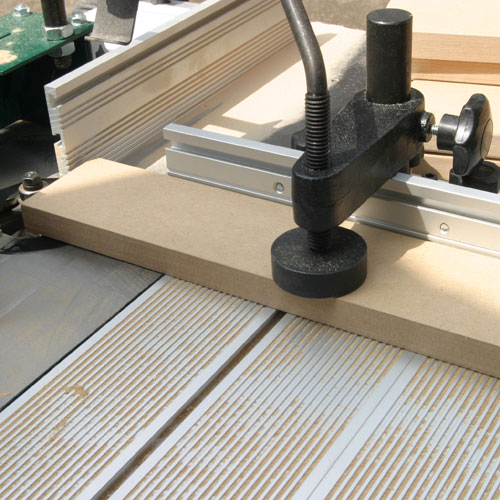
All the cross rails are jointed into the legs with biscuits, so the easiest way to cut these is again using the router with a biscuit jointing cutter.
If you mark out the extent of each joint you can make the cut by eye as nothing is critical provided you work from the face side of each piece at all times.
The rails must be thicknessed to get them the same width, but note that the bottom ones are wider to accommodate the drawer.
Try cutting them to length together to get them spot on for size but always use the same one as the marking template to prevent errors from accumulating.
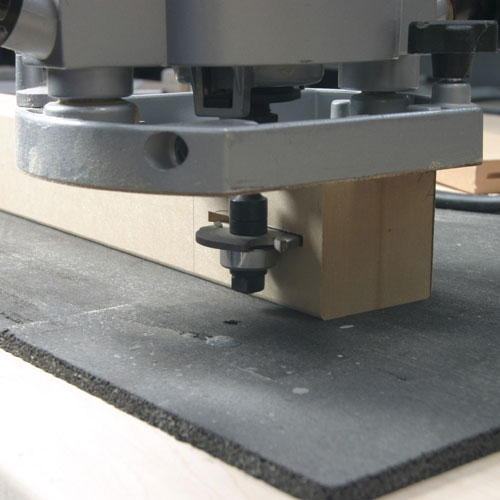
The corresponding biscuit joint in the end of the rails was cut on the router table, I figured that this would give me a bit more support than trying to do it with the router handheld.
Use the same cutter, but be careful not to cut the slot too long and come out of the side of the rail.

Finally run the radius cutter round all the bottom edges of the rails.
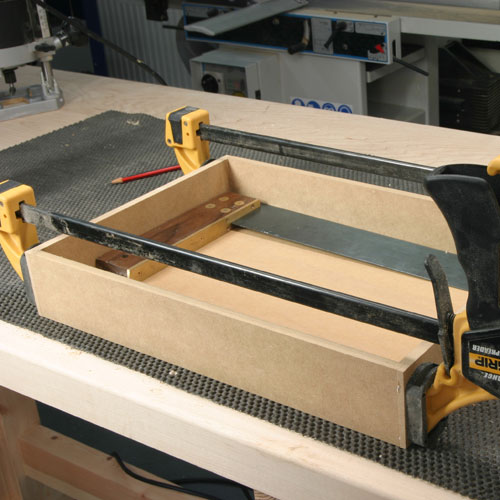
Step 5 - Clamping
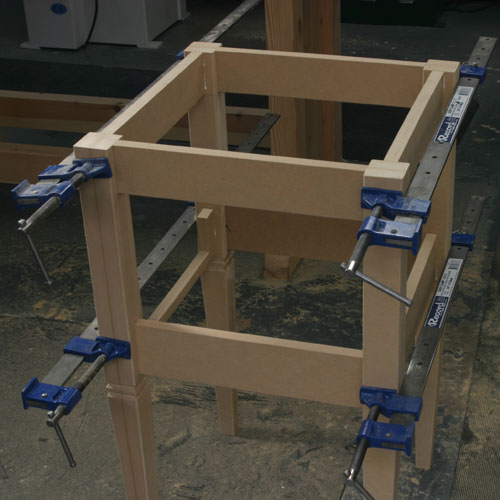
Glue up two frames first, again making sure they are dead square.
Take care because it is very easy to distort the rails by clamping too hard, just make sure the joints are pulled together, you don't have to wind the clamps up really tight.
One of the lower rails has to have the drawer aperture cut out, I did this with the bandsaw having first marked out the dimensions using the completed drawer as a template and allowing 1 mm of clearance.
You can now assemble the rest of the framework being careful to orientate the rails correctly with the radiused edges at the bottom.
Having completed the whole assembly and allowed the glue to set I then found it impossible to get the lower shelf into place! It very nearly went but not quite so the only answer was to cut the shelf in half and reassemble it in situ. This actually worked very well and the joint was invisible. Sometimes you need to stop and think ahead a bit before you get too carried away with the assembly!
Step 6 - Shelf And Draw Runners
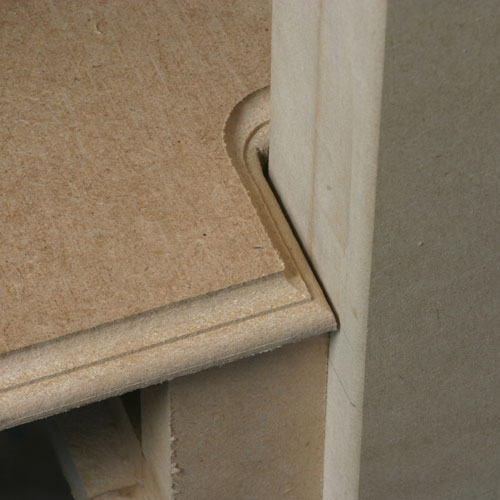
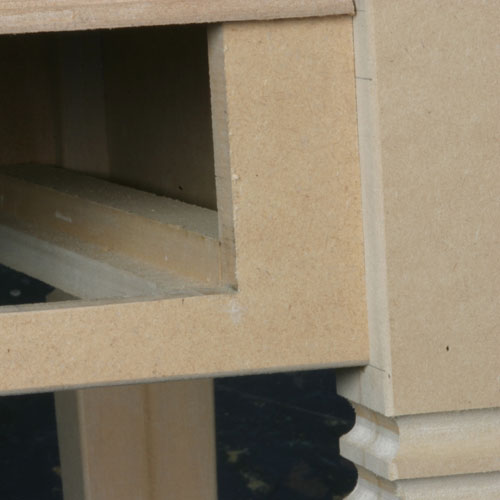
Before finally fitting the shelf I ran the drawer front mould around the edges, including the notches for the legs, this saves you having to be quite so accurate with the marking out and makes quite a feature of the shelf.
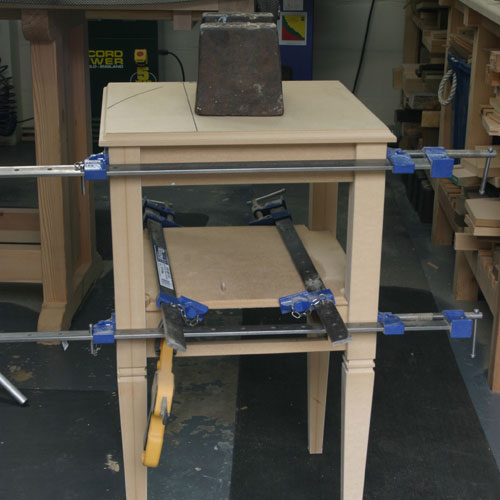
While you are about it rout the edge of the top as well with the same cutter then glue this onto the framework using one of the weights to clamp it in place.
The last job is to fit the drawer runners and kickers which are formed from a single piece of rebated MDF, but cut accurately to length so that they just glue in place between the front and back rails.
Now with the drawer slid into place you can fit the front so that it doesn't foul on the underside of the shelf, again glue and clamps is all that you need to fix it.
Step 7 - Finishing Touches And Presentation
Finishing MDF is always something of a problem, particularly where there has been a lot of moulding work. Everything looks fine until you start to put on any sort of paint which promptly sinks in very unevenly into the exposed edges.
I now seal the whole job first with a coat of cellulose sanding sealer, sometimes several coats to get a really even coverage on these awkward areas. Once this has dried which only takes a few minutes you can flat down any areas of roughness and then carry on with the finish of your choice.
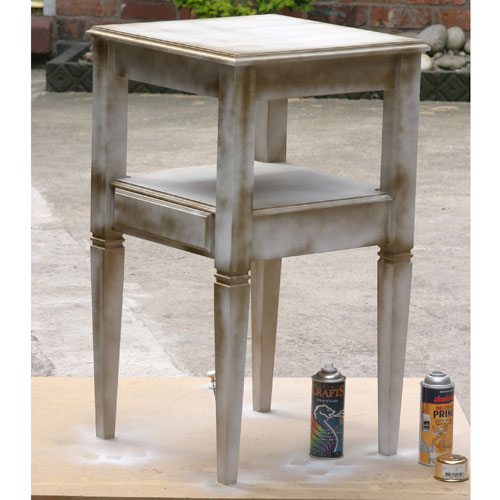
In this case I used cans of spray paint, starting off with a primer, then white and then added the highlights in gold to get the aged look.
The completed Side Table Routing Project.