We use cookies to make your experience better. To comply with the new e-Privacy directive, we need to ask for your consent to set the cookies. Learn more.
MDF Table Routing Project
Cheap and easy to make, this is a great project for using up some of those 'useful' MDF offcuts.
This project is very easy to make, costs relatively little in the way of materials and yet produces a result that is stylish enough to fit into any home. The painted finish on the underframe allows you to customise the table to suit any room in the house and you could even ring the changes by fitting a tile or glass top. It is also a great project for using up some of those 'useful' offcuts of MDF that you have had lying about the workshop for ages, but can somehow never find a use for.
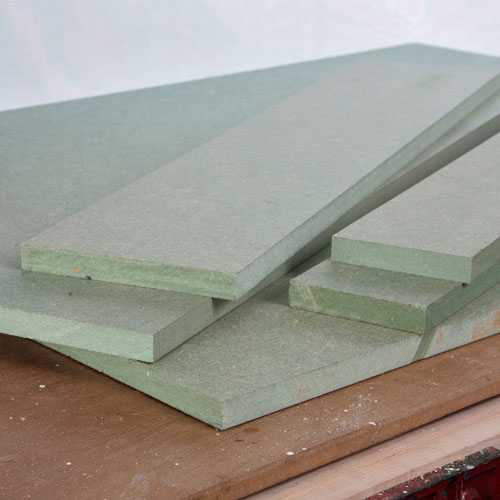
Beware of buying cheap MDF as it is often very open textured and any subsequent machining leaves a very woolly surface that is difficult to finish. My preference is for the green coloured water resistant MDF which is slightly dearer per sheet, but is much denser, machines crisply and finishes well without raising the 'grain'.
Step 1 - Creating the Table legs
Although it is a wonderful material to work, MDF does have problems that you should be aware of before you start working it. Firstly the dangers of its dust are well documented, so take adequate precautions to protect yourself during the machining stages.
Routing and bandsawing are both operations that generate huge amounts of very fine dust. Use extraction if possible, but at the very least wear some form of mask.
I used 18mm MDF for the main framework; full sheets are cheaper and easily obtainable at the bigger builders merchants if you don't have a local source.
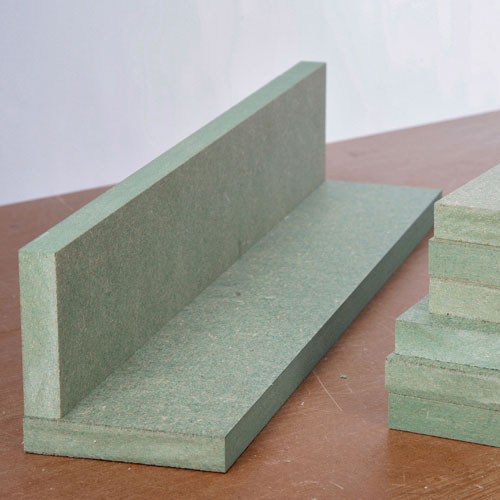
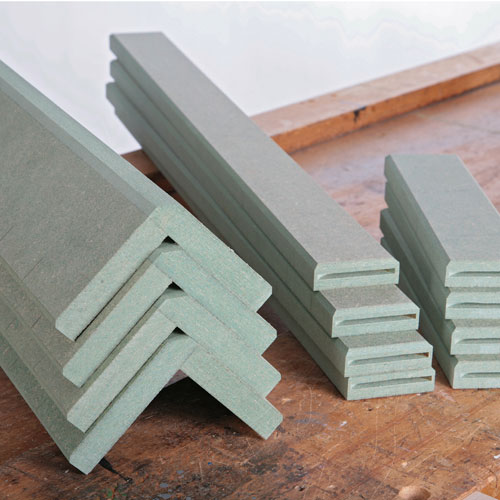
Start by making the legs which are just two pieces of MDF joined at right angles, but one of the pieces is obviously going to be narrower than the other by 18mm to account for the butt joint.
Ideally thickness all the pieces to size to get them identical, but be aware of the dulling effect MDF has on your blades. I try to always feed pieces over the planer or through the thicknesser at one end of the cutterblock to confine this wear on the blades to a small area.
Leave all the pieces a little over-length at this stage to allow for any misalignment during jointing.
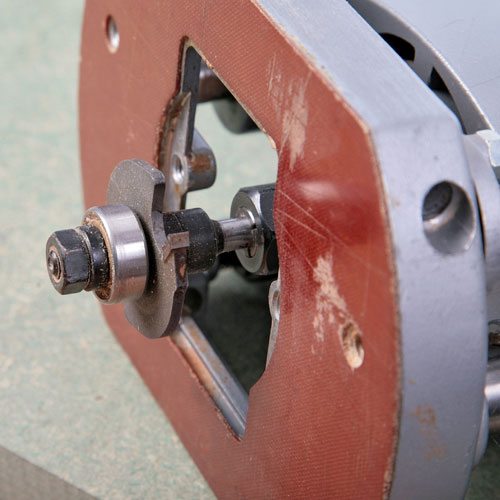
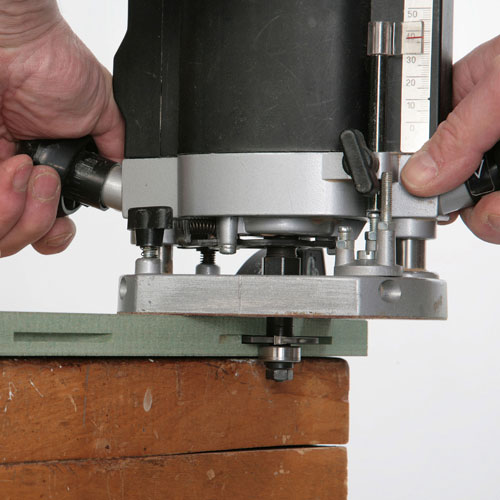
I settled on biscuits as the jointing method, so line up the two parts of each leg and mark out for 3 biscuits evenly spread down the length. Although you can use a dedicated biscuit jointer I tend to use a router mounted biscuit cutter for simple right angled joints like this. Trend Ref. 342.
With a router it is easier to position and much lighter to operate, particularly as I like to elongate the slots a little to allow some leeway in the alignment of the components during assembly.
Provided you work from the face side on each one it doesn't really matter how accurately the biscuit is lined up on the centreline, and in fact in this case it is better to set the biscuits back a little from the centreline, as the corner of the joint will be heavily chamfered later and you don't want to be cutting back into the biscuits.
However using the router on the edge of an 18 mm piece is a little tricky, it tends to wobble about, so clamp all the pieces together to form a bigger working area to aid stability.
The rails now have to be jointed into the legs, so cut biscuit slots into their ends the same way. But as these are only narrow take care that you do not extend the biscuit slot too far and expose it on the edges of the rails. However the beauty of working in MDF is that any errors can be filled later and lost under the painted finish!
Repeat the biscuit slotting procedure for the legs, cutting slots for both top and bottom rails.
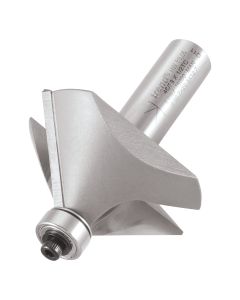
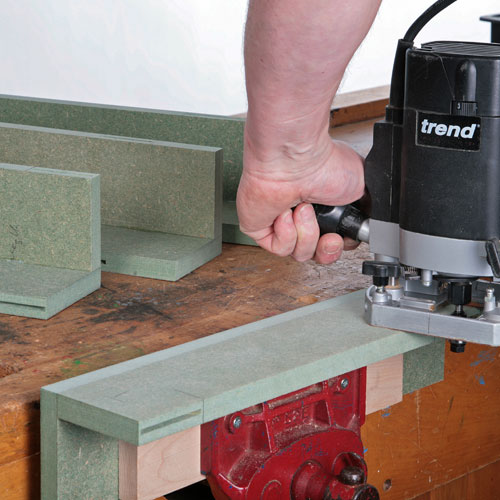
Then use a large diameter chamfer bit to shape the corner of each leg, a really sharp bit will minimise any furring of the MDF. Trend Ref. 46/38X1/2TC or similar. If you try and use blunt bits the material becomes very woolly and you will have great difficulty getting a decent finish later at the painting stage. As with solid timber, sharp cutters are essential even though there is no distinct grain.
Step 2 - Assembling the Frame
Glue and clamp up the long frames first making sure everything is square.
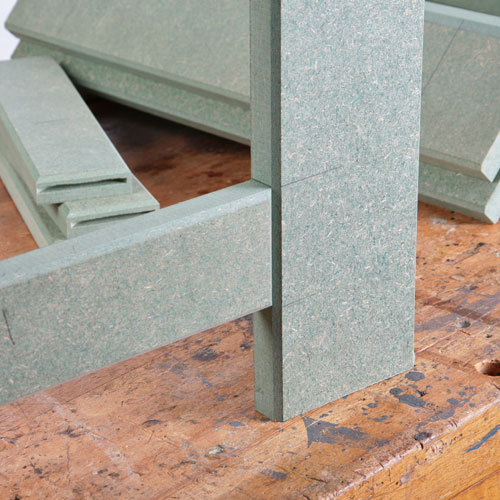
Also chamfer off the edges of both the legs and the rails, including the ends of the rails. This exaggerates the joint when it goes together but adds a decorative detail that looks neat.
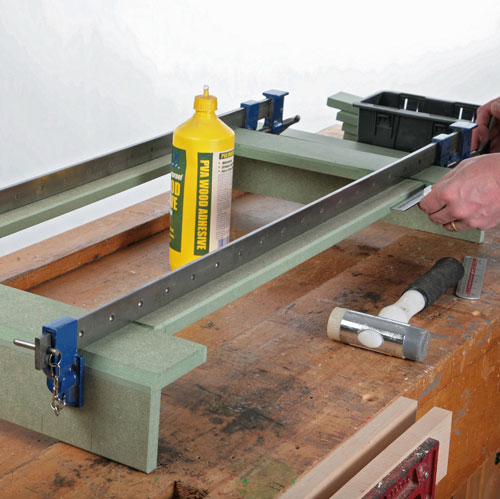
This is where the slightly elongated biscuit slots allow you a little necessary adjustment. However don't over tighten the sash cramps in this situation as MDF has very little longitudinal strength and you will distort the rails if you squeeze them too hard.
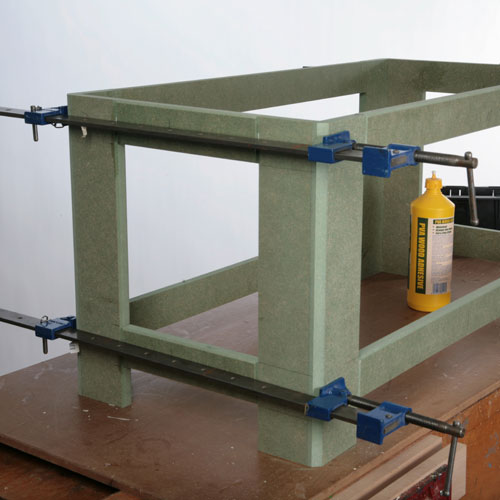
Once the two long frames are glued up and dry, complete the assembly by joining them up with the end rails. A really level floor or a spare sheet of MDF on the bench is a great help here in getting it all true.
Plenty of cramps are necessary as you have to do it all in one go, and again be careful not to pull it out of square by over tightening.
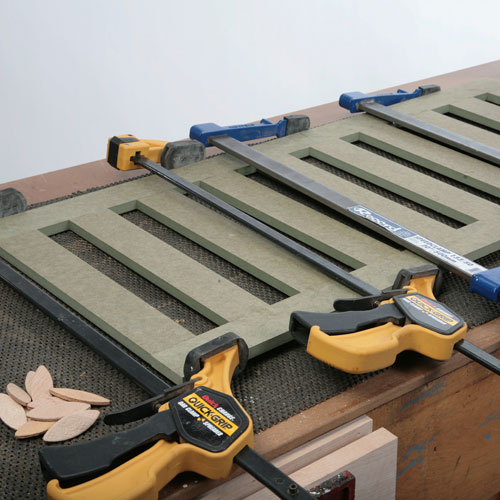
The lower shelf is made up in much the same way, but this time using 12 mm MDF. The slats are set out evenly using a spacer block cut to the required width. Biscuit it all together as before, but as the slats are a little narrow I reduced the biscuit length.
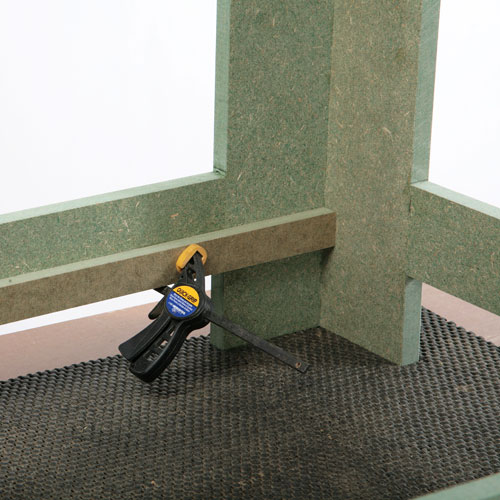
To support this shelf I glued a small strip of MDF down each long rail, keeping it well down so that the shelf fits down below the rail. Finish off the shelf when it is dry by using the same chamfer cutter over all the exposed edges on the slats and rails then drop it into place.
Step 3 - Contructing the Top
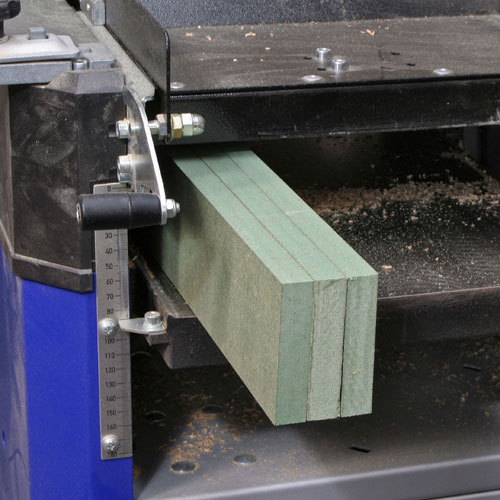
The solid top is made up from 4 pieces of rough sawn 1" material which need to be planed and thicknessed
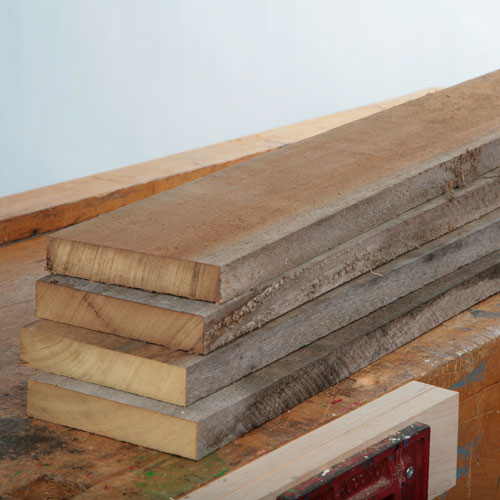
A cheaper alternative would be to use a piece of veneered board and lip the edges.
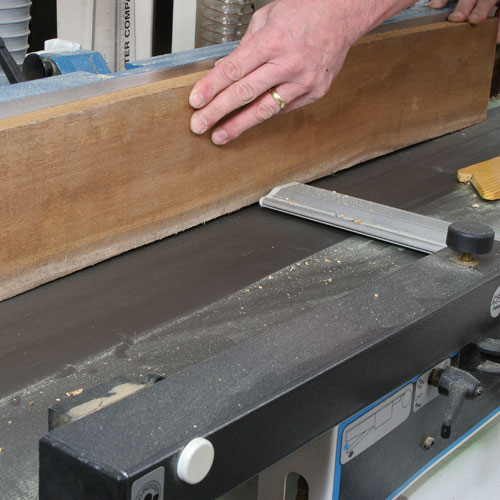
It is so important to get the material edges as true as possible on the planer so make sure you plane it with the concave surfaces face down to get rid of any bend. Then use the edge jointing jig to get the edges perfectly matched for a seamless joint.
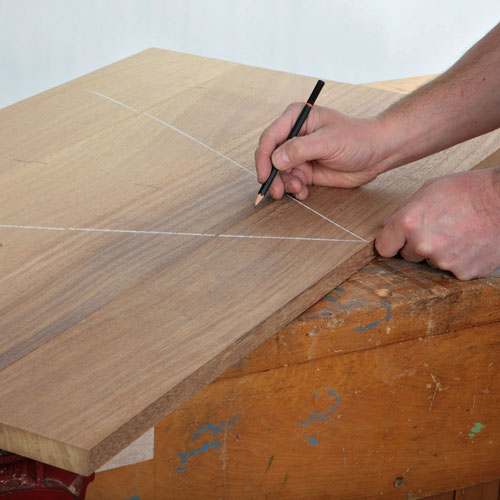
Mark the finished sequence of boards with a large "V" to make sure they stay correctly orientated and pencil in the position for the joining biscuits. Three should do for each joint.
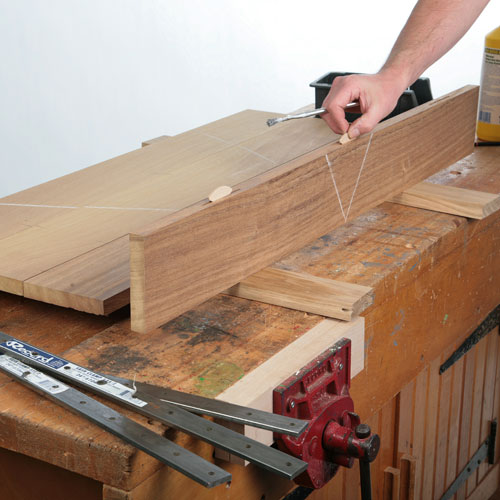
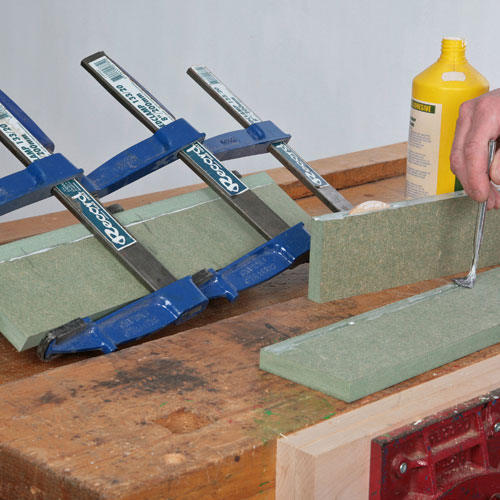
Apply a coating of glue to each edge and biscuit slot, using a brush to get the surfaces evenly covered.
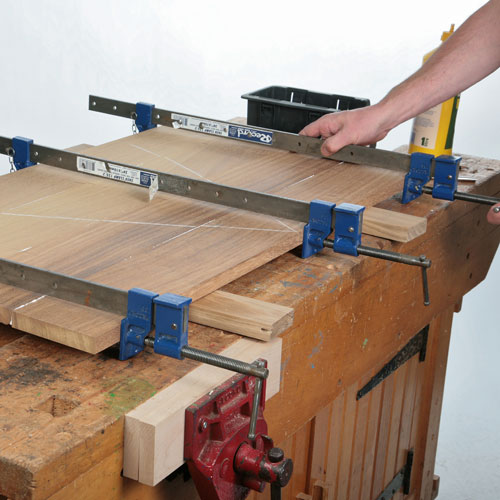
Apply gentle pressure with some sash cramps to hold the joint together whilst it sets. Provided you have made a good job of the joint you shouldn't need tremendous pressure as this also risks bowing the top.
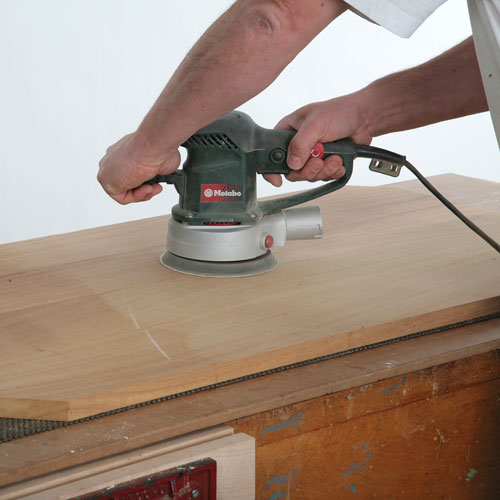
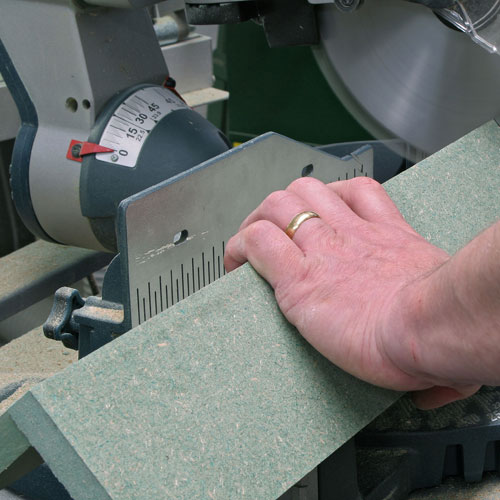
When it's dry, cut the top to size, taking the corners off and chamfering the edges to mimic the angles used on the underframe.
Step 4 - Lacquering and Painting
The table top and legs now needs to be lacuered and painted.
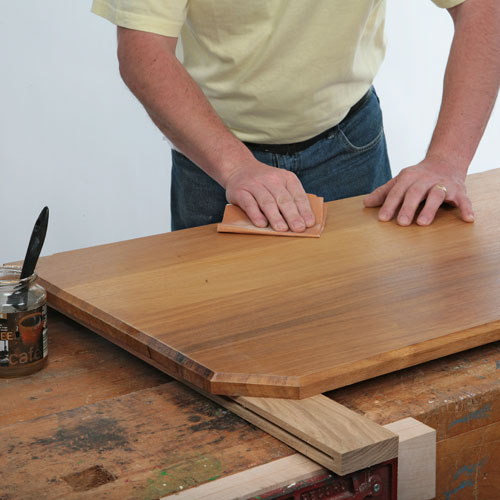
To finish the top, I thin down standard pre-cat gloss lacquer and then apply several coats with a brush. It will dry in minutes and you can then flat down each coat before you put on the next. Wipe off the dust each time and keep building up the coats until you have the necessary level of shine. Leave it all to harden, then polish the surface by rubbing over with 1000 grit wet and dry paper to leave a silky smooth surface that can be waxed to a subtle sheen.

The legs are trickier as the machined edges of the MDF are a lot more porous than the faces. Start by brushing or spraying on a coat of wood primer and then flat this down thoroughly once it has dried. You may need several applications to get an even seal. Only then can you apply the finished colour in the form of oil based eggshell paint. Three coats are normally enough to get a finish that leaves the machined edges as smooth as the flat areas.
With everything finished, fix the top in place with jointing blocks that have enlarged holes to allow for any movement of the top.
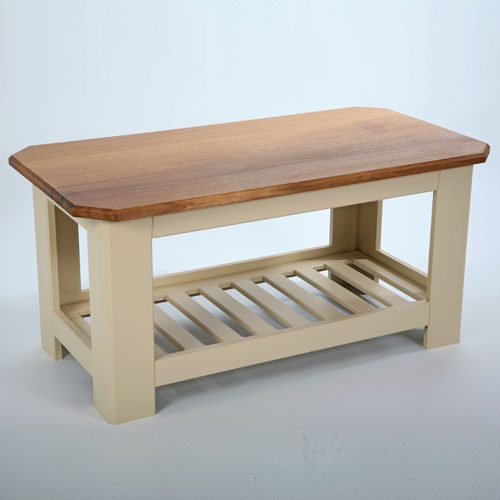
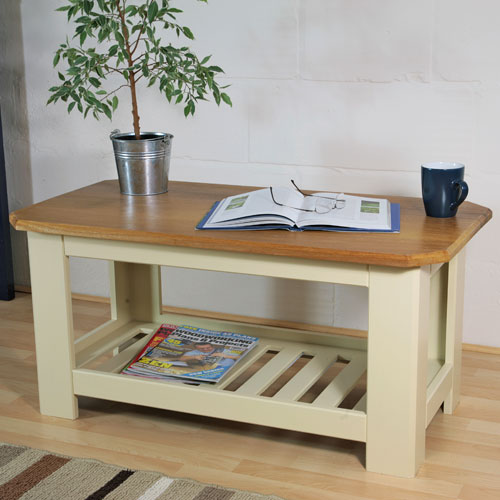
This is the completed MDF Table Routing Project.
Written by Alan Holtham - Established woodworking author and video producer.