We use cookies to make your experience better. To comply with the new e-Privacy directive, we need to ask for your consent to set the cookies. Learn more.
Bathroom Storage Routing Project
A simple but very stylish bathroom cabinet with plenty of storage for all your toiletries.
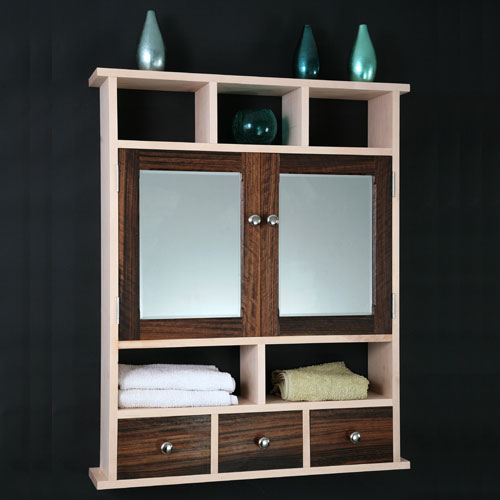

This little job followed a request for a bathroom cabinet for a modern minimalist bathroom. The only stipulation was that it should be very simple with no ornate detailing or moulding, just plain square edges. The design could easily be modified to become a kitchen storage unit or a display case for the living room with glass doors instead of mirrors.
After some discussion the chosen timbers were maple with contrasting ovankol for the doors and drawers. Mixing woods is not always successful particularly when the contrast is quite stark, but in this case I think it works quite well.
Step 1 - Select and Prepare Timber
Maple boards are readily available from even relatively small timber merchants, but the quality does vary so select your boards carefully as some grades will only have one good face.
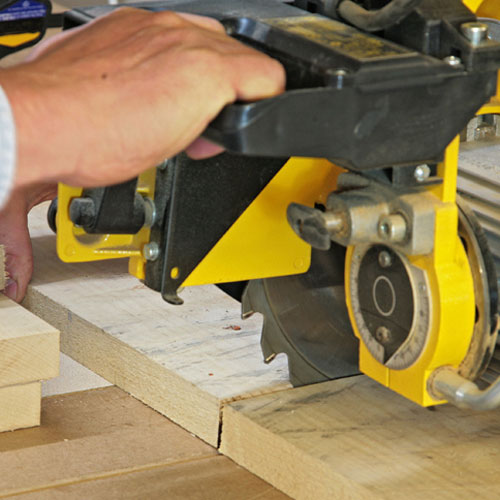

It is a timber that usually cups quite badly during drying, so cut everything more or less to length before you start planing, to maximise the available thickness.
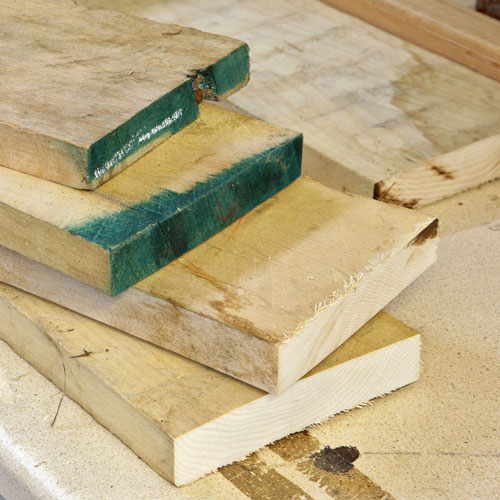

Cut out the longest lengths first and save the shorter pieces for the shelf dividers.
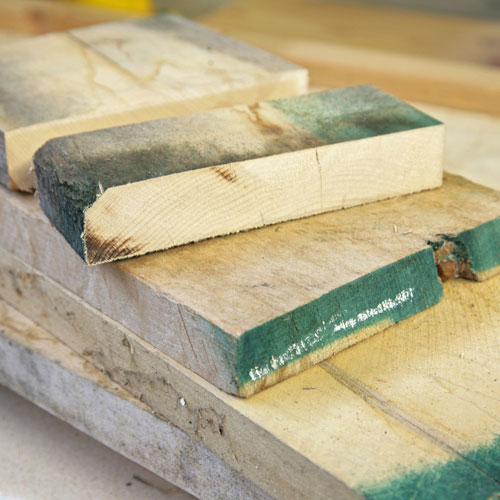

Buy plenty of material as the boards are often split quite well into the ends, a fact that may not be apparent until you start cutting it up.
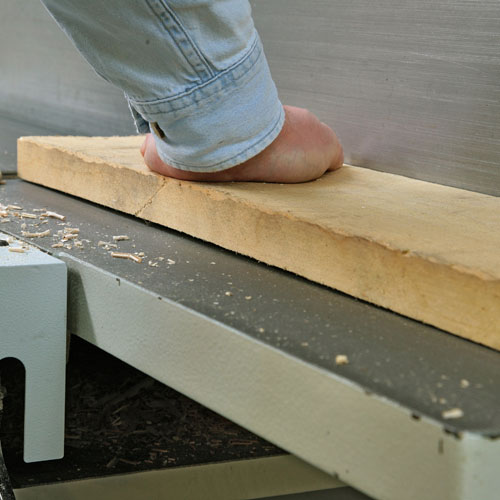

Make the initial planing cuts with the concave surface facing down on the planer beds. This is the only way you will straighten bowed material.
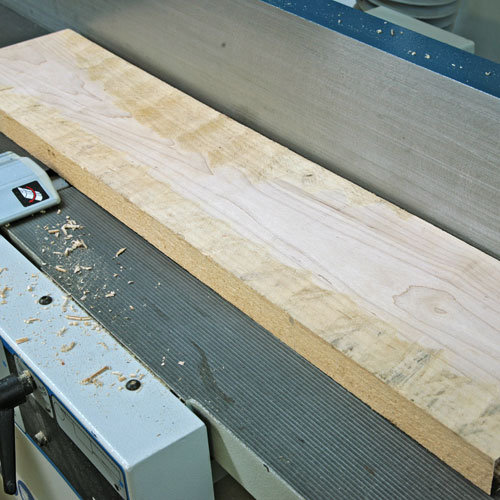

These initial cuts will remove more material from the ends than the middle, but with successive cuts the board starts to become straighter and flatter.
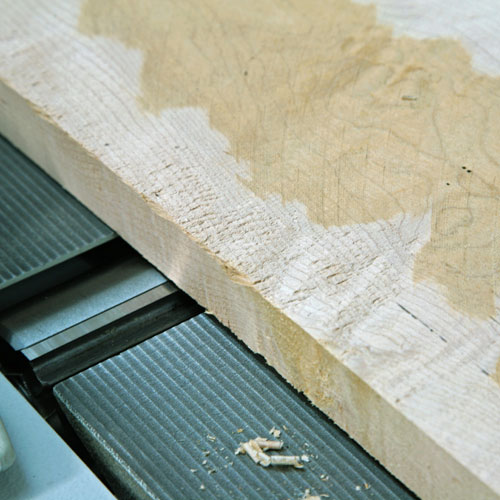

Cupped boards often require a lot of work to flatten, but as long as you get a planed surface down either side it is often easier to remove the rest on the thicknesser.
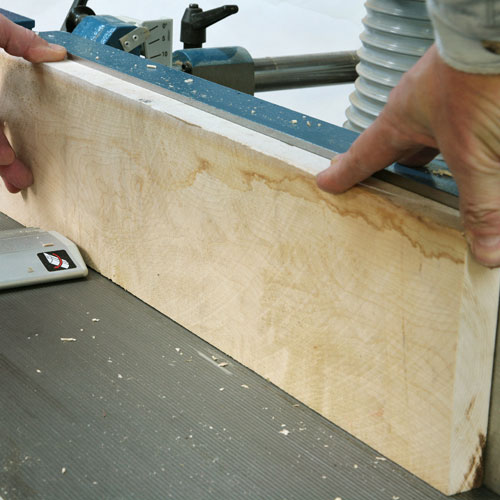

Once one face is flat and true use this as the reference against the planer fence to true up one edge, checking the grain orientation to minimise tearing.
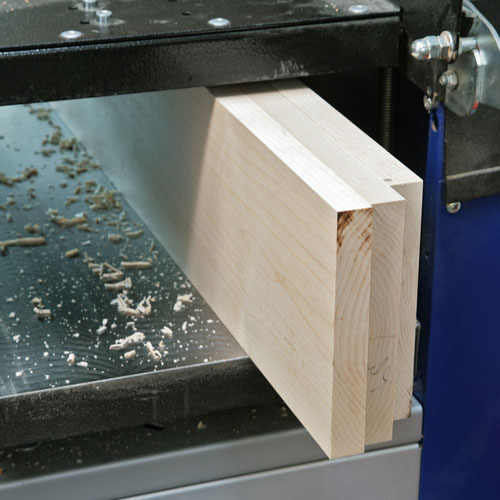

If the boards are quite variable in width it is now quicker to size them all by firstly passing them through a table saw set to a fraction over finished width and then feeding them through the thicknesser to get the final dimension. As the boards are all the same width it is quite safe to feed several through together and this also helps to stop them tipping sideways.
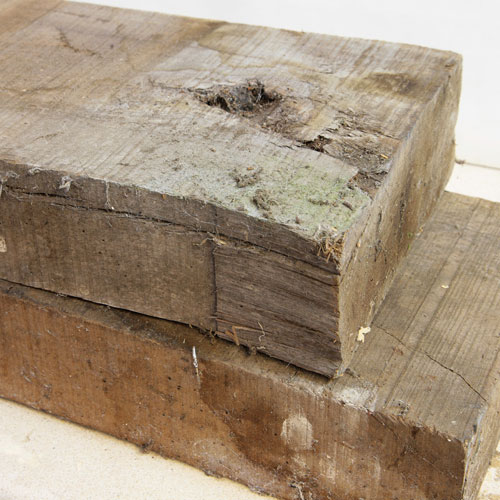

The ovankol started out as some very scrappy looking 3" material full of deep cracks that I did hesitate about cutting up for firewood.
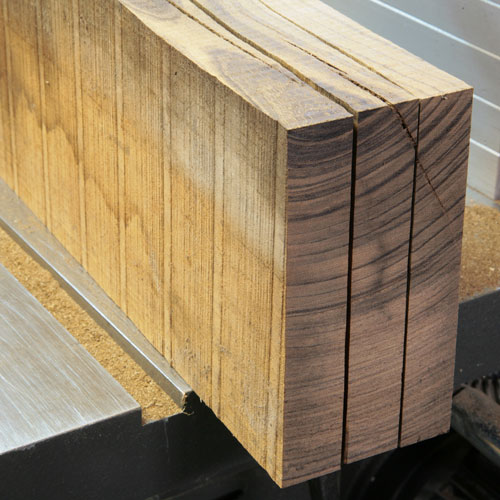

A job like this allows you to cut it up into small sections that can be worked around the defects. Just cut plenty and be ruthless at cutting out any splits that could open up later.
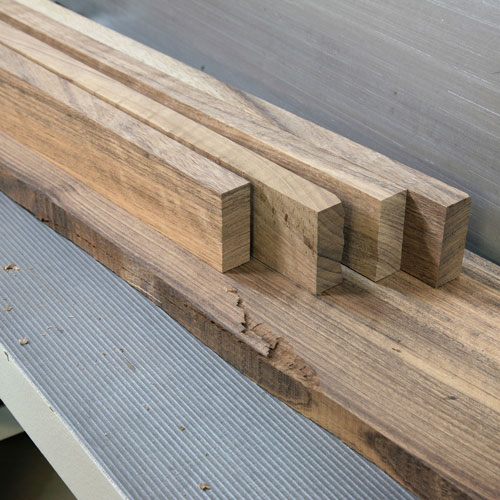

Plane and thickness this material in the same way, but take extra care with these heavily interlocked hardwoods as they will often tear no matter which way you plane them.
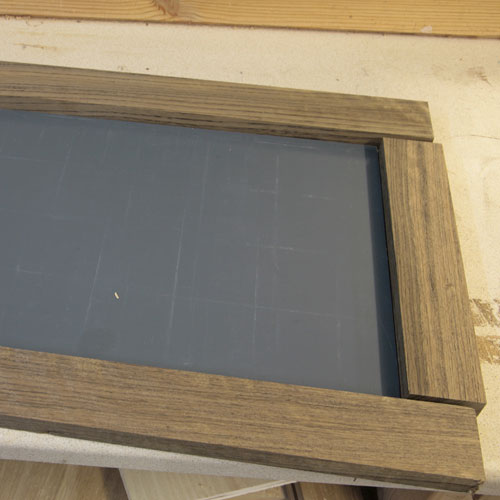

The mirrors were sourced from a local DIY store and as they are the determining factor start by making the doors.
Step 2 - Door Construction
The doors now need to be joined using dowels and grooved to accept the mirror.
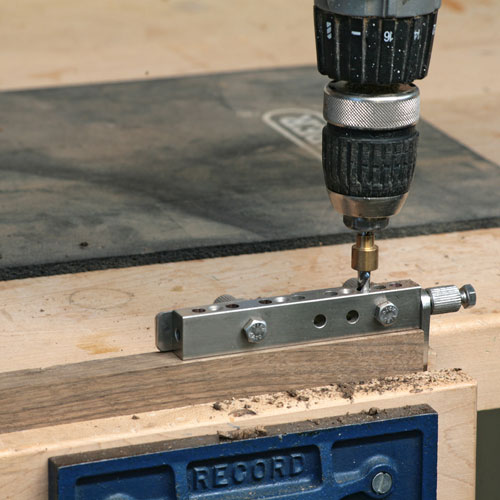

The door components are dowelled together using the 6mm Joint Genie jig. This very simple piece of kit makes dowelling foolproof.
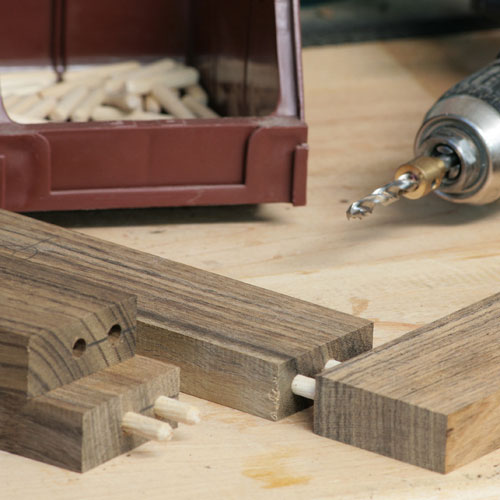

Two dowels will suffice in each corner, but make sure that the holes are drilled deep enough so that the joint will close up tight.
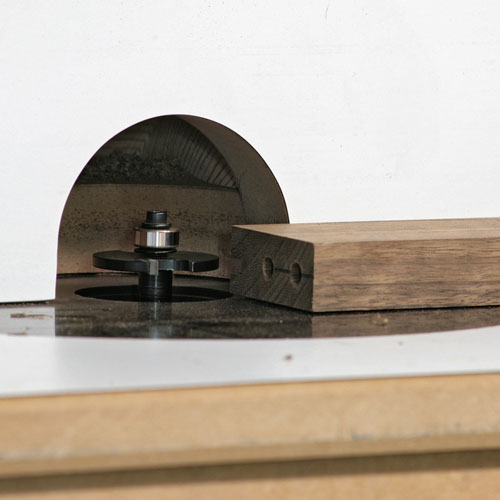

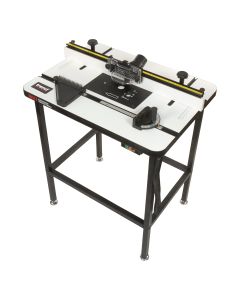
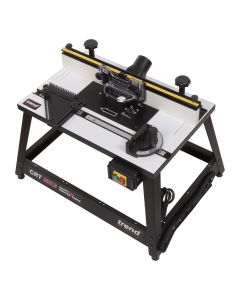
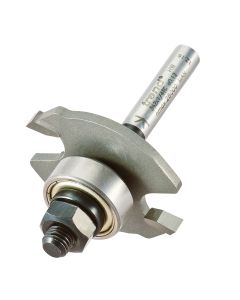
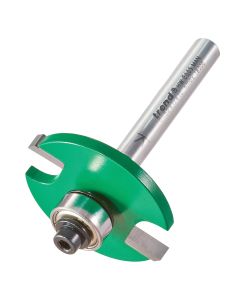
The mirrors need a 4mm wide groove to a depth of about 5mm. The easiest way to machine this is using a grooving cutter with the router mounted under a table.
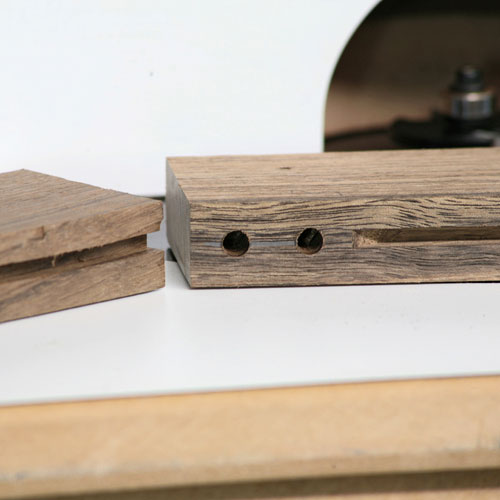

Remember to stop the groove on the stiles or it will show on the ends of the doors. Set the groove deep enough to leave the mirror slightly loose in the frame to prevent it cracking if the door moves later. Put 'start' and 'stop' marks on the table fence to make sure you cut the groove to the right length.
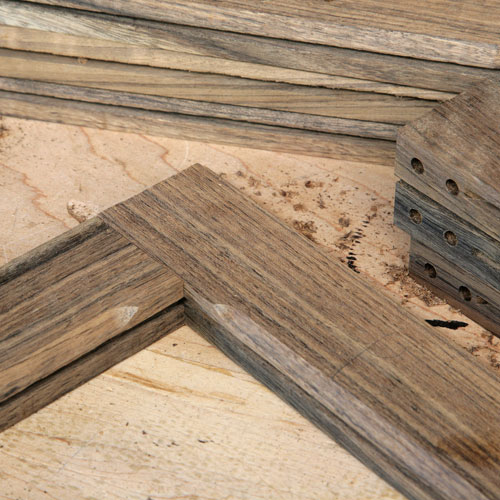

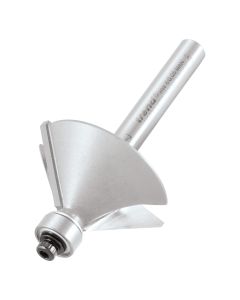
My one concession to alleviating the plainness of the doors was to machine a stopped chamfer along the inside edges using a bearing guided 45 degree chamfer bit.
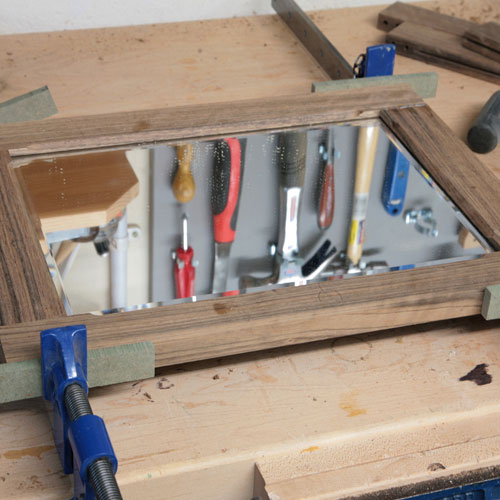

The doors can now be glued up but put some clear silicone mastic in the groove to stop the mirror rattling about.
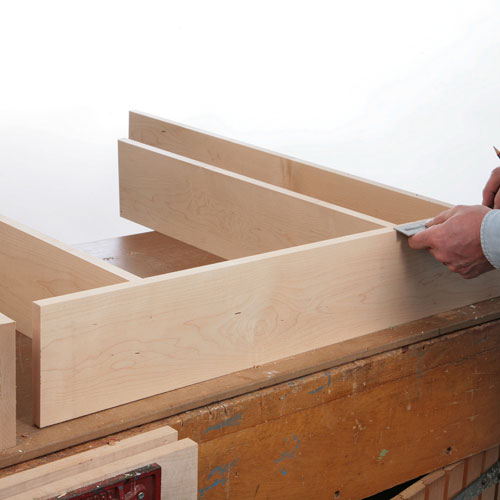

With the door size now determined you can set out the main carcase components.
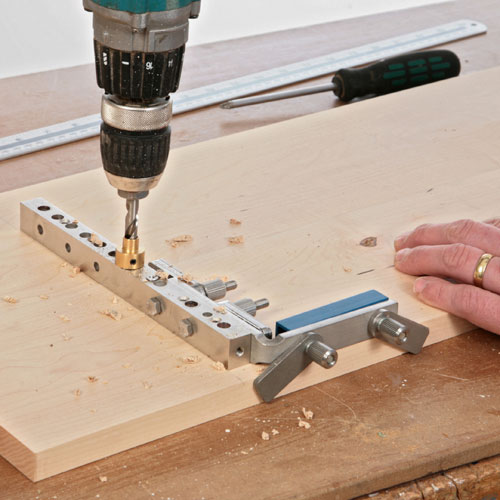

Once again use the Joint Genie jig, but this time the 8mm version, marking across matching components to ensure they line up perfectly.
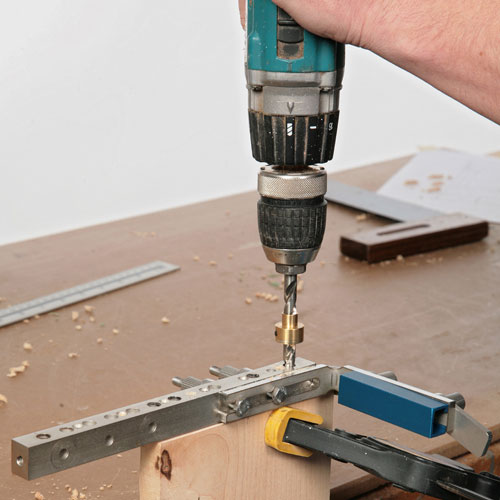

End dowels are drilled in the same way, but the jig must be firmly clamped. Remember that the components start to become "handed" so mark a face edge and always work from this on each piece.
Step 3 - Carcass Assembly & Constructing the Drawer Boxes
The carcass can be glued together and drawer boxes machined.
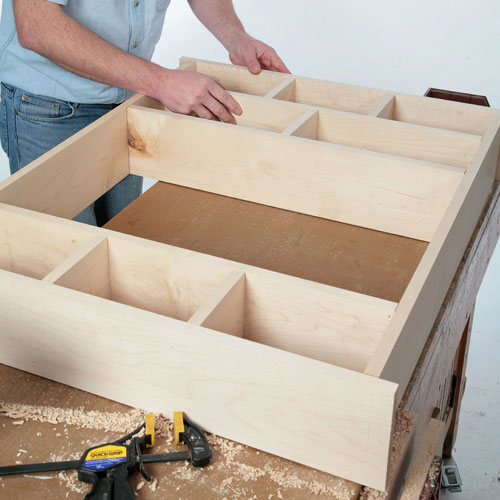

Make a trial assembly to make sure that everything fits correctly, it is much easier to make corrections now rather than when it is half assembled! Dismantle it all and sand thoroughly.
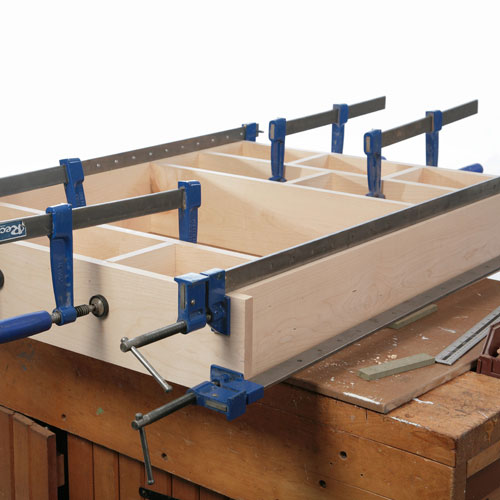

When there are so many individual components it is far easier to glue up in stages, doing all the internal bits first and letting them dry before completing the outer components. Clamps should only be necessary to hold it together, not pull it together! Excessive pressure always starts pulling things out of square.
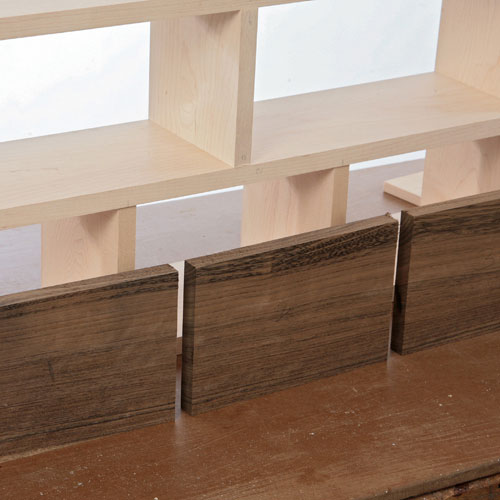

Now machine up the drawer fronts, ideally cutting them from one piece to maintain the grain continuity.
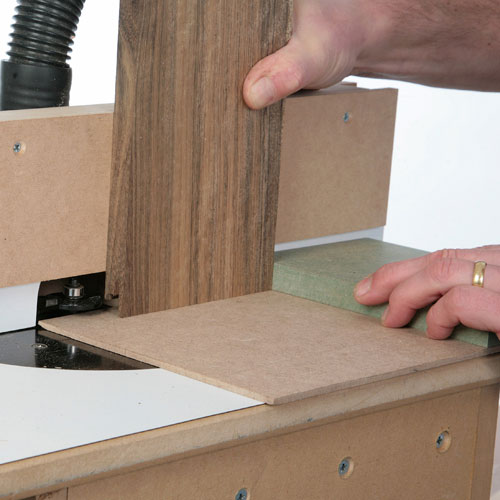

The drawers are jointed using the drawer lock jig, cutting the fronts first and then the sides.
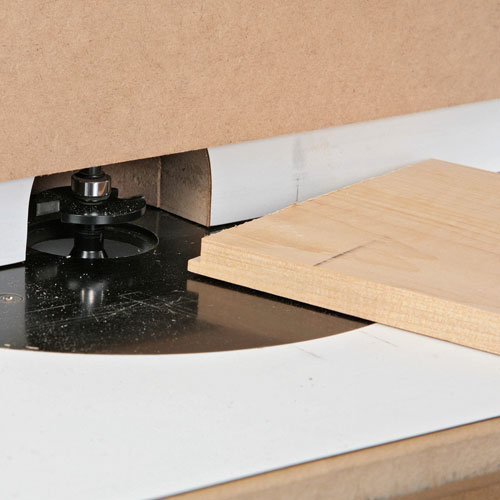

Adjust the fence position to machine the joint for the drawer back.
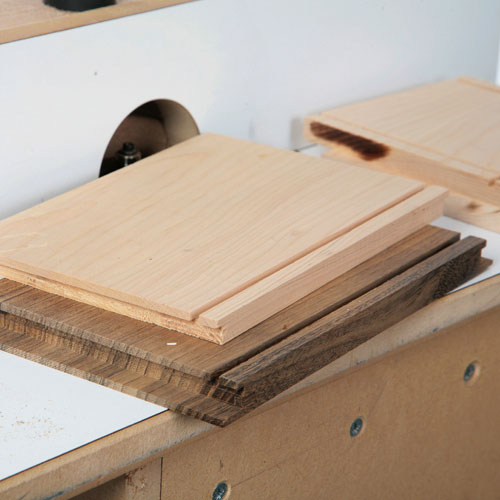

Then put a groove for the drawer bottom in each piece.
Step 4 - Final Assembly
Drawer boxes can be assembled and then all remaining components need to be sanded and doors attached.
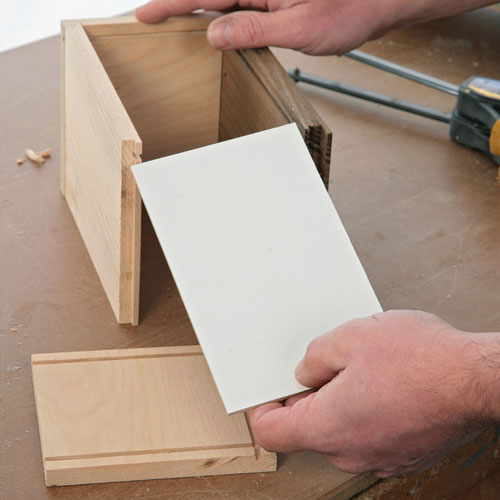

The bottom itself is a piece of 4mm white faced mdf, cut to be a fraction under size to allow easy fitting.
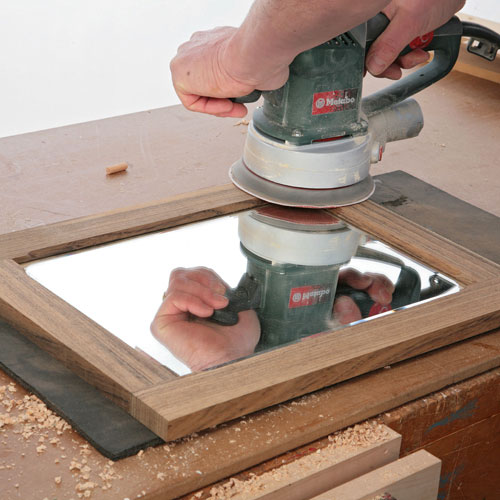

Give the doors a thorough sanding with a sander, finishing off with 320 grit abrasive.
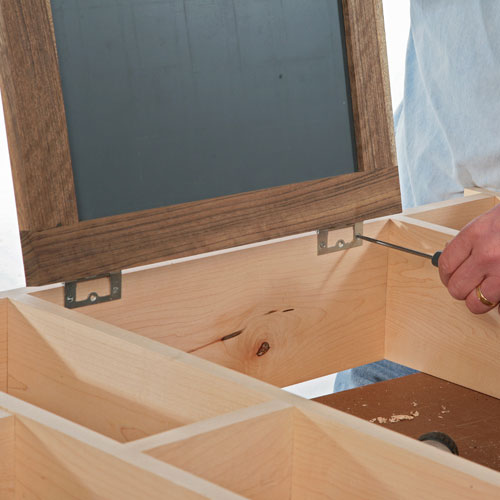

Fit the hinges drilling proper sized screw holes in the hard maple or you risk shearing off the delicate screws. I used 65mm hinges to give plenty of support to the heavy doors.
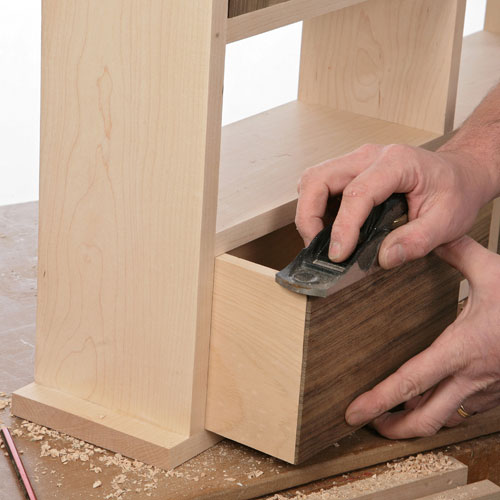

Remember that this unit is going to live in a hot and steamy atmosphere, so fine tune the drawers to have plenty of clearance and be an easy sliding fit.
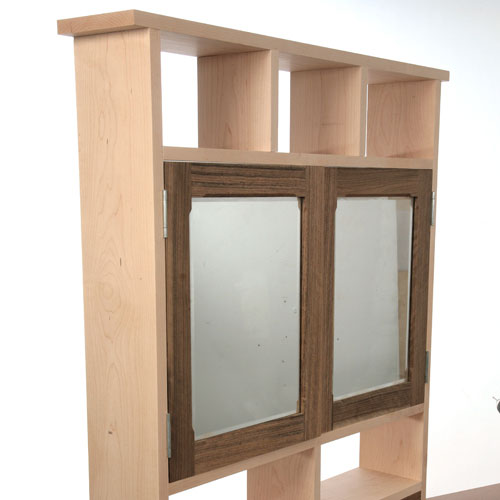

Finish with 3 or 4 coats of pre cat cellulose lacquer applied with a brush flatted down between coats.


The completed bathroom storage unit
Related Products
Related Videos
Bearing Guided Cutters
CDJ300 Dovetail Jig
Related Downloads
Related Test Reviews
Related Instructions


Document Download


Document Download


Document Download


Document Download


Document Download


Document Download
Related Files


Document Download


Document Download


Document Download


Document Download


Document Download


